TANDOORI CHICKEN - is an iconic restaurant style smoky grilled chicken dish, that is so easy to prepare at home, tastes incredibly delicious and is seriously the best !The dish originated from the Indian subcontinent and is popular in many other parts of the world.

Today we’re making a Tandoori Chicken. Traditionally, the chicken is then cooked in a tandoor. A tandoor is a clay oven. The heat comes from the bottom of the oven and roasts the chicken. There is just something about meat cooked on coals or over an open flame that adds a level of flavour that is the perfect marriage. That’s why dishes like chicken tikka and tandoori chicken are so iconic. But let’s be honest, no one has a tandoor at home. People living in houses might have a nice BBQ in their back yard but the average person living in an apartment doesn’t. But we can still re-create these dishes and make them taste just as good. If you don't have oven still you can make tandoori chicken at home directly on a gas stove or in oven or in a grill pan. You can simply go ahead using any of these to make this tandoori recipe.
Tandoori Chicken can be an ideal starter on your party menu. A perfect healthy, gluten-free and keto friendly chicken recipe great for meal prep, holiday tables or gatherings. It is very mildly charred and crispy with a smoky aftertaste. Few handy basic Indian spices and powders and the secret star ingredient - Mustard oil.
Taking inspiration from watching a lot of Youtube videos I decided to try a 48 hour tandoori chicken.If you are in a hurry, let the chicken sit in the marinade for around 10 minutes. But for the best results I prefer to sit it for almost 12-15 hours. Remove the marinated meat from the refrigerator 45 minutes before you plan to cook. A longer marination process in the hope of getting a more flavourful, tender and juicy bird. The Tandoori Chicken marination is actually done in two steps - the first marination and the second marination. The double marination process gives the best result with the softest meat to devour. Without a doubt, I am sharing and easy and the best recipe with you all. There is absolutely no secret of any store bought tandoori masala behind it. And, the dish easily comes together without any fuss! There will be NO disappointment ever and of course there will be no looking back. Because, you will find this one to be the best tandoori chicken recipe than the other tandoori recipes on the net. And, I don't make false claims!

Let me tell you the secret that I follow consistently to make the tandoori chicken smoky. I prefer to give charcoal dhungar(smoke) just before grilling/cooking them or right after the cooking is over. So, the either way works best and you get nice smoky chicken tandoori at home. Traditionally and ideally, the best chicken cut to go for is the whole chicken legs (chicken drumsticks with thigh) or just chicken thighs. However, you can also go for chicken breasts for the healthier version. All you need to do is follow the same procedure, thats it! Cooking time may vary couple of minutes here and there when using chicken breasts.
The Indian restaurants and the dhabas add red food coloring to the marinade. The addition of food color gives nice bright and fiery red appeal to the chicken. The tandoori chicken recipe that I am sharing with you today has no artificial color at all. All that beautiful red color you see here is due to the use of good quality Kashmiri red chili powder, (which gives intense red color but is mild on spice).
As the chicken is marinated in yogurt and then baked and not fried, it doesn’t contain a high amount of saturated fats. You can use chicken breasts to make tandoori chicken lower in fat and calories and higher in protein. What I love about this recipe is just how authentic it tastes. Sure, cooking it in a tandoor oven would make things complete but this oven-baked version tastes just as good!
Give try the recipe and also the video a watch.Tandoori chicken is one of the healthiest chicken recipes to make. The method involves the series of steps that I shall be mentioning in detail below. So, here's how to make the best chicken tandoori at home. Spice up the dinnertime with this smoky and perfectly juicy tandoori chicken. Marinated in yogurt and cooked in the oven, this recipe comes together in minutes! Tandoori chicken is a dish attributed to Indian cuisine. It features chicken marinated in yogurt and spices. In our version, we oven-bake it and it honestly tastes like something from a restaurant!
📌📌 Watch the video recipe here 👇👇
https://youtube.com/shorts/OChVcsTQZTc?feature=share
INGREDIENTS :
1 kg Chicken
1 st Marination -
1 tablespoon Ginger Garlic Paste
1 tablespoon Lemon Juice
1 teaspoon Turmeric Powder
1 teaspoon Salt
2 nd Marination -
1/2 Cup Mustard Oil2-3 tablespoon Gram Flour/ Besan
1 teaspoon Ginger Garlic Paste
1 tablespoon Kashmiri Red Chilli Powder
1 teaspoon Regular Red Chill Powder
1 teaspoon Coriander Powder
1 teaspoon Cumin Powder
1 teaspoon Garam Masala Powder
1/2 teaspoon Black Pepper Powder
3/4 teaspoon Black Salt / Regular Salt
1 teaspoon Kasoori Methi
A Pinch of Red Food Colour ( optional )
200 gm Hung Curd
For Dhungar ( smoky flavour )-
Piece of Coal
1 teaspoon Pure Desi Ghee
Small Steel Bowl/ Ramekin
For Garnishing and Serving -
Onion rings
Lemon Wedges
Chaat Masala
Mint Chutney
Spicy Garlic Chutney
METHOD :
First Marination -
STEP 1- Rinse chicken inside and out .

STEP 2 - Make several cuts on them using a sharp knife. This will help the marinade to penetrate well in the chicken.

STEP 3 - Pat dry the chicken pieces with kitchen towel and put them in the first marination.
STEP 4 - Mix very well and coat the chicken pieces well with it.

STEP 5 - Cover and keep aside for 20-30 minutes under refrigeration.

Second Marination -
STEP 1 - In a pan, dry roast gram flour/ besan on low flame until fragrant ( 3-4 minutes ). Cool it completely.

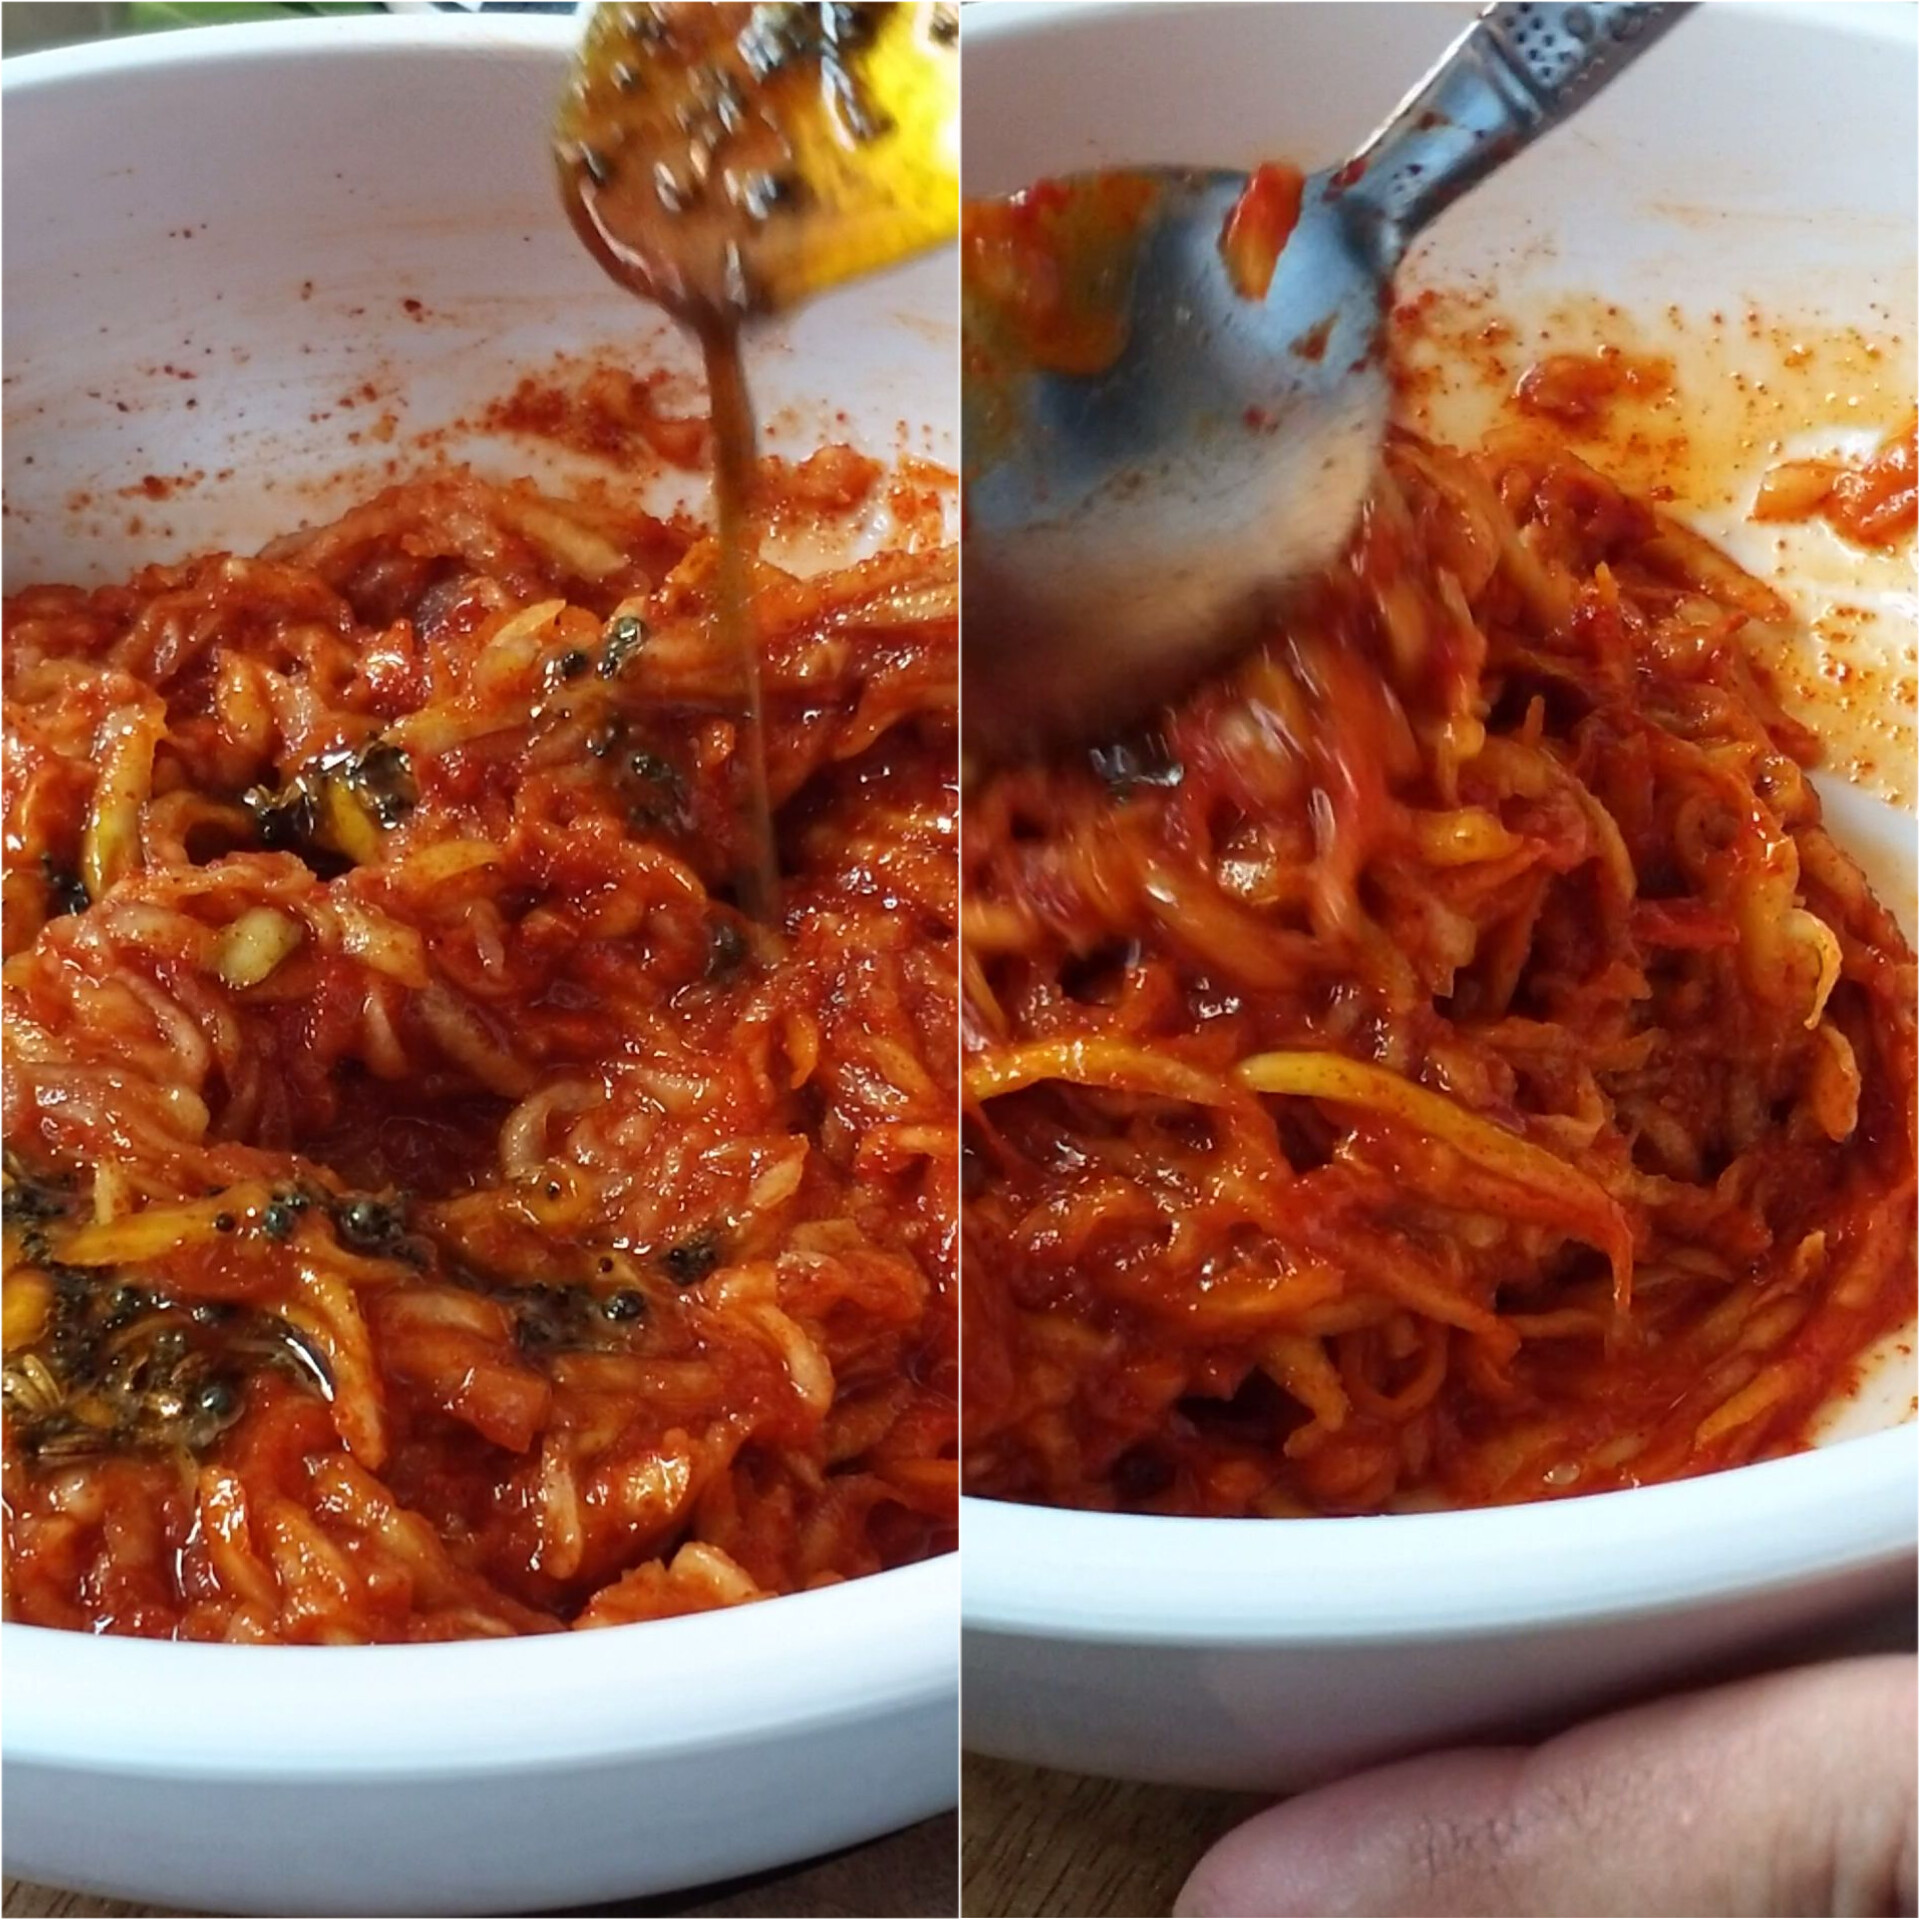
STEP 2 - In a mixing bowl, add all the ingredients needed for second marination.

Add roasted gram flour and mustard oil. Check the seasoning and add if anything needed. Mix really well.

STEP 3 - After 1st marination done, transfer the chicken pieces in the second marinade.

STEP 4 - Coat the chicken pieces very well with the marinade. Apply the marination properly in the gashes.

STEP 5 - Transfer into a container ,cover with a bowl, plate or cling wrap and refrigerate for 12-24 hours/ overnight. ( see notes )

For Grilling -
STEP 1 - Remove the chicken from the fridge and let it come to room temp.
STEP 2 - To cook the chicken preheat the oven to the highest temp for at least 30 min.
STEP 3 - While this is happening place a steel bowl or oven proof ramekin in the bowl with the chicken.

STEP 4 - Heat a coal on the stove and once flaming hot add to the small katori and drop a few drops of oil or ghee on the coal. Once the coal starts smoking cover with a lid and let the chicken smoke for at least 8-10 minutes.

STEP 5 - Line a tray with silver foil to keep under the grill rack.

STEP 6 - Arrange the chicken pieces on the rack. Sprinkle crushed kasoori methi on the chicken pieces.

STEP 7 - Set the temperature at 200°C and put the tray in the oven and start cooking. Bake for 20 minutes.

STEP 8 - Remove and change the sides of chicken pieces and again grill for 10 minutes on 200°C.

STEP 9 - Grill from both sides until the chicken turns aromatic and cooked well.

STEP 10 - Remove the chicken from oven, apply melted butter and again put it in the oven for just 5 minutes.

STEP 11 - Repeat the same with the other side too.
STEP 12 - Tandoori chicken is ready to serve.

Allow the chicken to rest for 5 minutes and serve.

Sprinkle some chaat masala powder and serve.

Enjoy it on its own as an appetizer with chutney.You can also serve it with, Mint Lachha Paratha, Garlic Naan or any Indian flat bread.

NOTES - *You can use any chicken cut for this recipe. Chicken thighs are perfect if you don’t mind fatty chicken. But if you are on a low-fat diet, chicken breasts will work just as well.
* Ensure to pat dry the chicken meat to avoid any excess liquid in to it.
* Use sharp knife to make deep cuts on meat pieces. The cuts ensures the deep penetration of marinade making it perfect and juicy.
* The secret behind the best tandoori chicken is it's marination process and the use of mustard oil. So follow the two step marination exactly the way mentioned in the process.
* Plain Greek yogurt to marinade the chicken and tenderize it.
* Freshly minced. Fresh ginger and garlic give the chicken Asian notes and add great flavor to it.
* The spice blend I prefer using for my tandoori chicken recipe consists of garam masala, cumin powder, coriander powder, black salt, black pepper powder, regular chilli powder and kashmiri red chilli powder. While you can customize the spice blend for tandoori chicken, I recommend you never skip the garam masala as it gives the dish an authentic Indian feel.
* The longer you marinate the chicken, the better will be the flavor every time. So, follow the marination time accordingly.
* Only and only in strict case of short of time, still I would insist you to let it marinate for minimum 4 hours.
* You can directly place the chicken pieces on the lined baking tray.
* Remember to turn the chicken halfway through of grilling (after 15-20 minutes).
* If you are placing it on a wire rack, then place the dripping tray under the rack to collect the dripping over it. You can even line a baking sheet and use it.
* To store, place the cooked chicken in clean airtight container and refrigerate.
* You can also add smoked paprika to the marinade to make up for the smokiness that the traditional cooking method provides.
* Use even-sized chicken pieces to ensure even cooking.
* Don’t overcrowd the baking rack so that the chicken pieces brown well on all sides.
* Leftovers can be stored in the refrigerator, covered, for up to five days.
* Microwave portions of the chicken for 40-50 seconds or reheat in a preheated oven until hot.