_________________I am Mrs. Kalpana Mhaske, a Home-Maker, from the city of 52-Gates, one of the famous heritage- destination of the world- Ajanta - Ellora Caves, Bibi-Ka- Maqbara (The Taj of Deccan) and Deogiri Fort. i.e. AURANGABAD. I admire cooking - tryout and innovate different cuisines. Basically, both of my gorgeous daughters are foodie, they have always encouraged me in the kitchen and forced to carve a Food Blog, that’s why, I am happy to share the makings with you. I am an artist too. Painting – especially, Canvas-Painting is my one more hobby. In total - Ours is an ART-FAMILY, my husband is an Architect. In the end, I keep the same belief with Louise Fresco - “ Food, in the end, in our own tradition, is something holy. It's not about nutrients and calories. It's about sharing. It’s about honesty. it’s about identity ”

Saturday 18 June 2016

SWEET TAMARIND CHUTNEY/ MEETHI CHUTNEY


INGREDIENTS:
1 Cup Seedless Tamarind, tightly packed
1 Cup Seedless Dates
1 and ¾  Cups Water
1/2 teaspoon Cumin Seeds
A pinch of Asafoetida (hing)
¼ teaspoon Red Chilli Powder (laal mirch powder)
7 to 8 tablespoon Jaggery or as required- adjust as per your taste

Rock Salt or Black Salt or regular salt as required

METHOD:
STEP 1 – Soak tamarind and dates in water overnight or for 4-5 hours in a small bowl or pan.
STEP 2 – With your hands, squeeze the pulp from the tamarind as well as the dates in the same bowl or pan.
STEP 3 – Strain the pulp and keep aside.
STEP 4 – Heat oil in a small pan.
STEP 5 – Lower the flame and add cumin seeds and let them crackle.
STEP 6 – Add red chilli powder and asafoetida.
STEP 7 – Stir and add the strained tamarind-dates pulp.
STEP 8 – Cook for 2-3 minutes.
STEP 9 – Add jaggery and salt and cook for 4-5 minutes more.
STEP 10 – The mixture would thicken.
STEP 11 – Let the chutney mixture cool.
STEP 12 – When cooled, store the chutney in an air-tight dry jar or container.

  You can use this chutney for the chaats as well as with the Indian snack items.

CORIANDER GREEN CHUTNEY

INGREDIENTS:
2 Cups Coriander Leaves [dhania patta]
1 or 1 ½ tsp Anardana / Dry Pomegranate Seeds or  ½ to 1 tsp Amchur Powder/ Dry Mango Powder
½ tablespoon Chopped Onions [optional]
1 or 2 Garlic Cloves [lahsun]
Salt as required

Water as required

METHOD:
STEP 1 – Grind all the ingredients mentioned under the green chutney list with little water.

STEP 2 – Remove and keep aside in a small bowl. 

 Serve this coriander green chutney with your snacks.

DAHI VADA / DAHI BHALLA

Dahi vada is the North Inadian dahi bhalla recipe.Dahi bhalla are slightly different from dahi vada. In dahi bhalla papdi bhalle, papadi [fried flour crispies],boiled potato cubes and cooked chickpeas are added which add different textures, taste and flavour. Both dahi vada and dahi bhalla are popular North Indian snacks as well as street food. They can be served as starter dish.  Deep fried dumplings which are soaked in water. Those soften vadas are served with yogurt, meethi chutney and green chutney. [sweet and spicy chutneys]. To get a good soft urad dal vadas, remember to soak the lentils overnight. In South Indian version, the curd/yogurt is lightly sweetened and then tempered.  Dahi vadas are a craze at home and I do make them at times as they require some preparation work to be done before hand…like making both the spicy green chutney and sweet tamarind chutney, preparing the vadas, etc.


INGREDIENTS:
Coriander Green Chutney
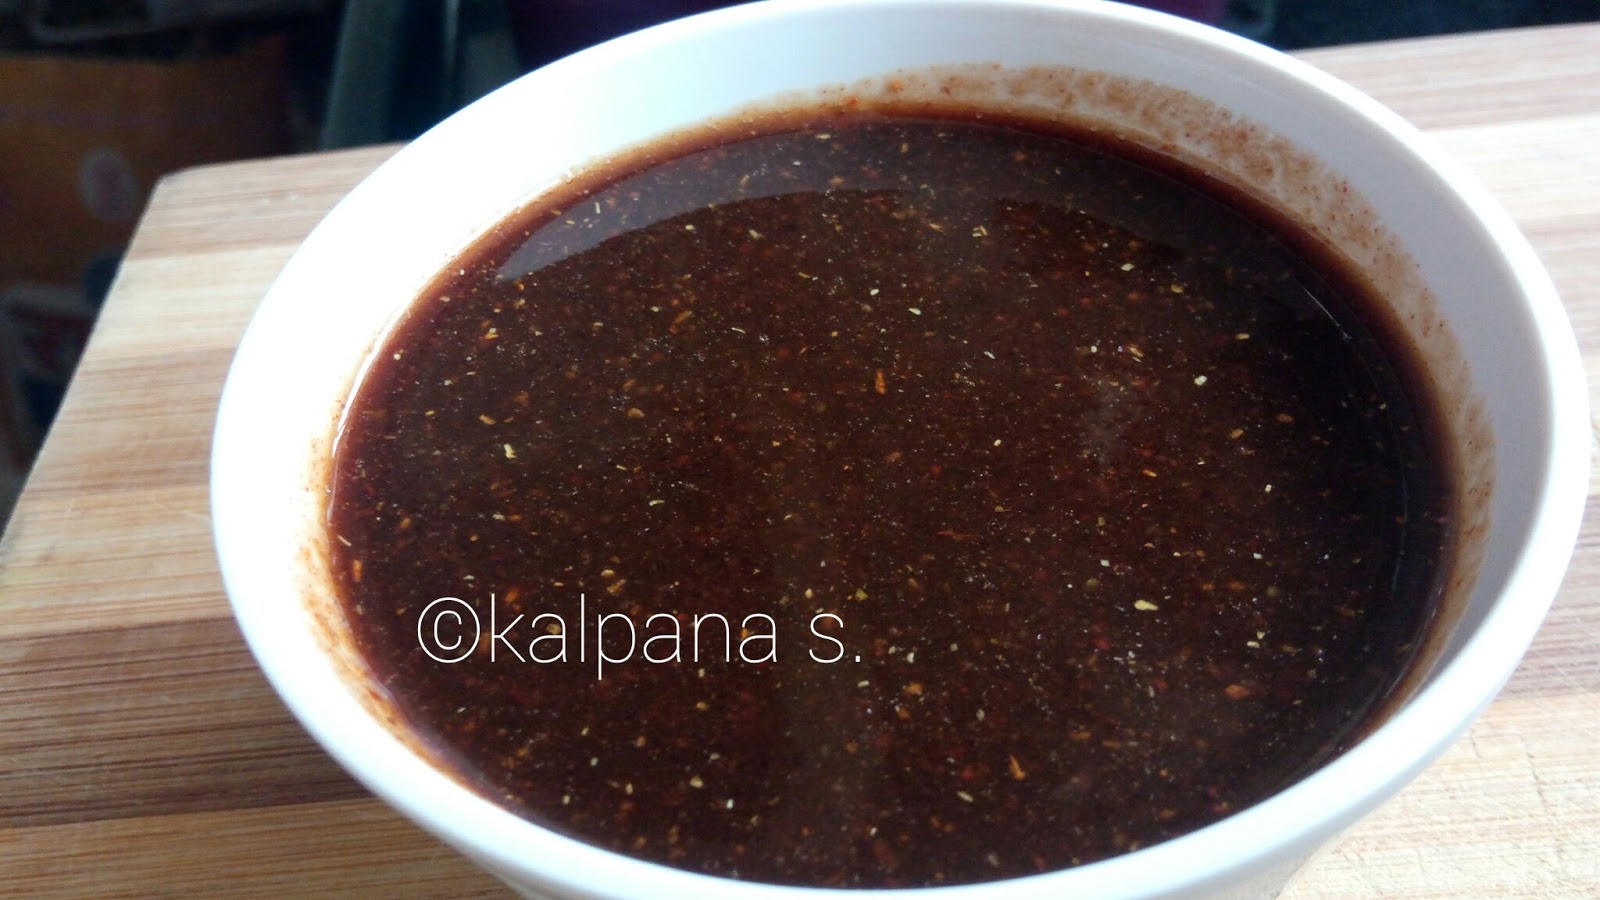
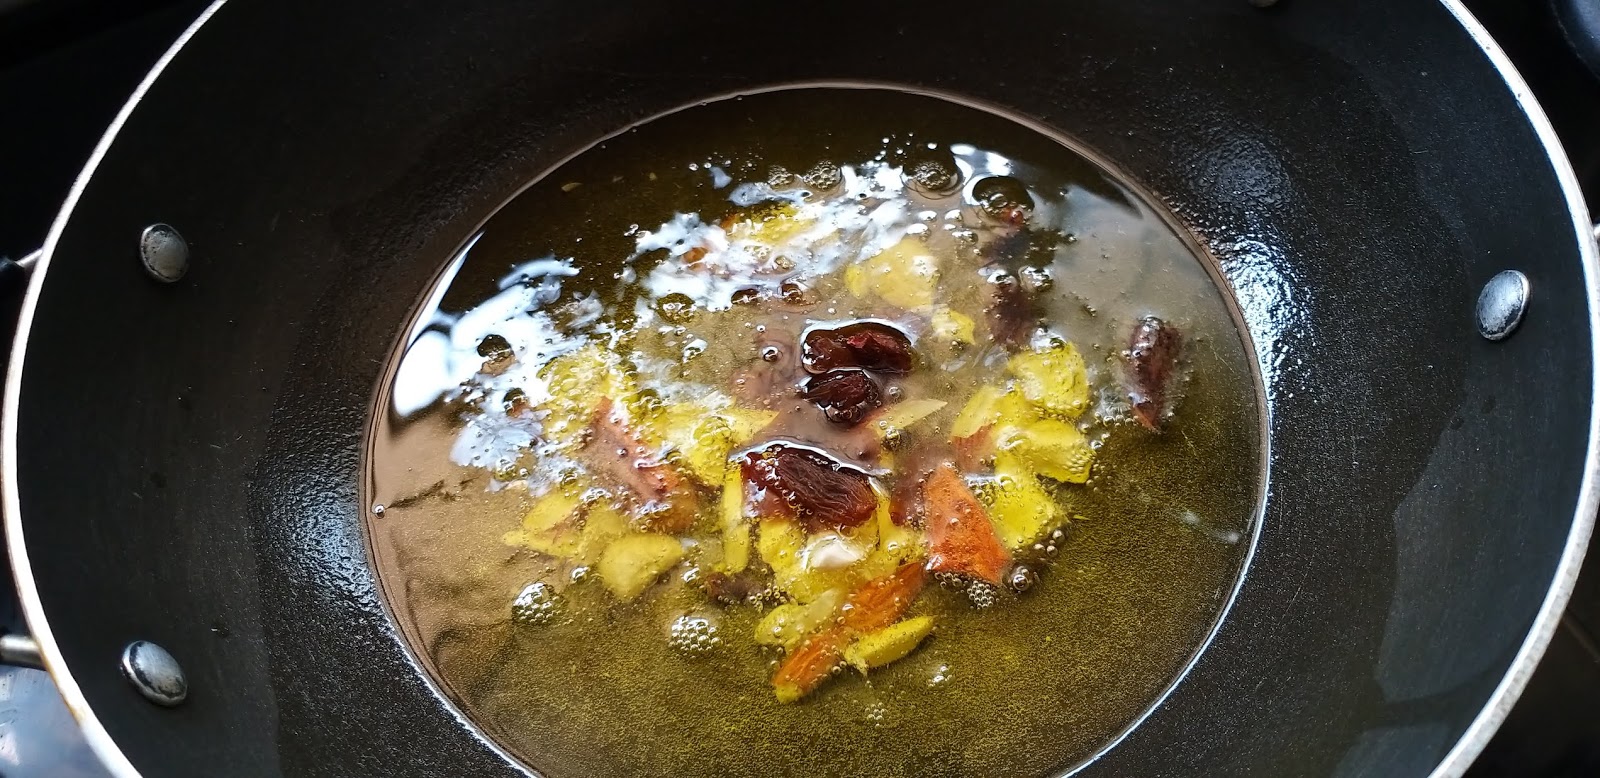
Sweet Tamrind Chutney [for recipes check the chutney coloumn in my blog]

For Vada-
1 Cup Urad Dal
Salt as required
¼ teaspoon Baking Soda
2 Green Chillies
Water for grinding
Oil for frying
Yogurt mixture-
2 to 3 Cups Plain yogurt
1 teaspoon Roasted Cumin Powder
1 teaspoon Red Chilli Powder
Salt to taste

METHOD:

 To make Vadas-
STEP 1 – Wash urad dal under running cold water till water runs clear. Soak it in enough water for at least 4-5 hours.
STEP 2 – During the soaking time they will get bigger in size and will get softer.
STEP 3 – For making yogurt mixture.Take yogurt in a bowl. Make sure to use chilled yogurt. If yogurt is not chilled then make few hours earlier and chill in the fridge.
STEP 4 – Add red chilli powder,
roasted cumin powder
and salt.
STEP 5 – Whisk it till it gets smooth. Keep refrigerated till needed.

STEP 6 – Prepare both chutneys. Or you can make them a day before and keep in the refrigerator.
STEP 7 – Drain the soaking water completely.

STEP 8 – Add that to the blender or grinder.
STEP 9 – Make smooth paste out of it. Use ½ cup of water while grinding the dal. Not more or not less, exactly ½ cup water to get the perfect batter consistency.

STEP 10 – Remove it to a bowl.

STEP 11 – Check the right batter consistency. Add chopped green chillies, salt and baking soda to the batter.

STEP 15 – Now using a spatula or by hand, beat the batter for good 5 minutes. This should be done very vigorously. You will get good arm exercise.
STEP 16 – Beat it till batter gets light and fluffy. This is important step to make the soft and fluffy vadas.
STEP 17 – Now check the right batter consistency. Take water in a small bowl. Drop a teaspoon of batter into the water. It should be floating on top. If it sinks to the bottom means batter has thin consistency. Adjust it by adding couple of tablespoon of semolina (rava or sooji).
STEP 18 – Now heat the oil in a pan on medium heat for frying the vadas.
 Once hot, drop the vadas using two spoons or by hand.
How I do: lightly wet your hand with water, take about 2 tablespoon  of batter and carefully slide into the hot oil using your thumb.


STEP 19 – Fry the vada on medium heat. Keep moving to get even cooking and browning.

STEP 20 – Fry till vadas are crispy and golden brown in colour. You will have to fry them in batches.

STEP 21 – Remove it to a paper towel lined plate.
STEP 22 – Take water in a large vessel or bowl. Add the warm vada into the water.

STEP 23 – Keep frying and adding them into the water. Let it soak for 30-40 minutes.

STEP 24 – You will notice that the vada changes its colour. Also they will increase in size slightly.
STEP 25 – After that we need to squeeze the excess water. Very lightly press it between your palm. Do it gently otherwise vada will break.

STEP 26 – Arrange the squeezed vadas into a bowl.

STEP 27 – Add  yogurt, all the vada should be covered with yogurt.

STEP 28 – Drizzle green coriander chutney.
STEP 29 – Also drizzle tamarind chutney.

STEP 30 – Lastly sprinkle some red chilli powder and roasted cumin powder. 

Serve the dahi  vada immediately. Or you can refrigerate it.
So when are you giving this dahi vada a try??
Do let me know in comments, if you have made it. How do you like it.

  NOTES: * To make a no garlic no onion version dahi vada, just skip the garlic in the green coriander chutney.
                * The leftover chutney can be refrigerated and served with other Indian snacks.
                * For step by step chutney recipe, just have a look at this tamarind meethi chutney and green coriander chutney recipe posts.

DALIA SHEERA / LAPSI / CRACKED WHEAT HALWA

This dalia sheera is a easy breakfast recipe. Dalia or daliya is also known as wheat rawa, broken wheat, cracked wheat, lapsi etc. As dalia or daliya is made with whole raw wheat, it contains the nutrition of whole wheat as it does not undergo any processing to refine it. It is quick recipe to make for breakfast or when you need a quick snack or sweet dish to serve with a meal. I made it with sugar but you can make this with jaggery if you wish. This halwa is very similar to semolina halwa and it is as easy to make.  This is nutritious for children and elders, for everyone. It can be digested easily, so people prepare dalia and serve with a cup of tea. If lactation is less in a new mother then milk dalia is given to her which increase lactation. So today I am going to share this super easy and tasty recipe with you all. If you like this recipe then don’t forget to share the comment in comment box.

INGREDIENTS:
1 Cup Lapsi /Dalia/ Cracked Wheat
2 tablespoon Oil
¾ Cup Clarified Oil [ghee]
2 Cinnamon Sticks
4 Cloves
1 Cup Sugar or Jaggery
2 Cups Water
Pinch of Cardamom powder
1 tablespoon chopped nuts like Cashews & Almonds
Some Raisins


METHOD:
STEP 1 – In a big bowl add cracked wheat. Add oil into it and mix well.
Cracked wheat should be coated with oil, to keep all the pieces of grain separate after cooking.

STEP 2 – In a small bowl boil some water and keep aside.

STEP 3 – Heat clarified oil in a pan.
Add cinnamon sticks, cloves and roast for 1 minute.


STEP 4 – Add chopped nuts and raisins and roast until light brown.
STEP 5 - Add laspi/ dalia and roast lapsi till it changes its colour to light golden brown.
STEP 6 – It’s time to pour hot water carefully. Water gets splutter while adding be careful.


STEP 7 – Mix well and cover with the lid.

STEP 8 – Let it simmer for 15 to 17 minutes. Stir in between. It will soak all the water. Add more water if lapsi is under cooked.

STEP 9 – Now add sugar and mix well.
Cook it until all the moisture get soaked by the lapsi grains.It will take approximately 7-10 minutes.
STEP 10 – Finally add cardamom powder and cover with the lid and let it simmer for more 2 minutes.

STEP 12 – Cool for some time then serve. Delicious Lapsi is ready to eat….Enjoy!!!!!!!
Serve it hot or cool.


NOTES: *You can freeze it too but it doesn’t taste like freshly made one ! Defrost fully, sprinkle a handful of water and heat in a microwave on full for 2-3 minutes, stirring half way through.
              *You can use jaggery instead of sugar.
              *You may use milk instead of water. Sheers will be more rich in taste. Or use half milk and half water if you wish.
             *The amount of water depends upon the variety of dalia.

LACHHA PARATHA

Preparing Lachha Paratha, a multi layered shallow fried North Indian flat bread, is an epitome of cooking art which tells us how one can make delicious and tempting food from common unassuming ingredients by just organising a new technique in its preparation. This layered paratha is also popular as kerala parotha in Malabar region of Kerala.  This paratha can be made both with wheat flour or all purpose flour or you may take half –half proportion of both the flours. I used all purpose flour here for my recipe. I made this with a small variation as I added ajwain [carom seeds] in the dough. Ajwain helps in digestion making it easy to digest the lachha paratha. Plus it add a unique flavour to this paratha. Also add some oil in the flour while making a dough.This way the dough will become soft and smooth.   
Lachha paratha is one of the most popular parathas in North India, and the reason in evident as soon as you set sight on it! This layered paratha is quite appetising to look at, and even more interesting to bite into, because the layers separated by ghee a crumby, melt-in-mouth texture. Although it might initially seem difficult, it become quite easy once you’ve made one or two of them. So lets start, out with the rolling pins. Try our hand at this mouth- watering layered paratha.

Ingredients:
1 cup (for dough)+ ½ cup (for dusting) Maida (all purpose flour)
Warm water for kneading
1 tablespoon+ for shallow frying Oil or Ghee (clarified butter)
Salt
1 teaspoon Ajwain

Method:
METHOD 1 :
STEP 1 – Take 1 cup maida, 1 tablespoon oil and salt in a large bowl.
Knead smooth dough by mixing all ingredients and adding warm water in small incremental amounts (1 or 2 tablespoon at a time).
Addition of water in small quantities as required will prevent you from adding too much water to bind dough.
The dough should be soft like chapatti dough.
Grease surface of dough with teaspoon oil, cover it with a clean cloth and leave it to set at room temperature for 25 minutes.
Divide dough into 4 equal chunks and give each chunk a shape of ball.[ I had taken the double proportion ]

STEP 2 – Take one dough ball, flatten it like pattie (by pressing between your palms of against rolling board) and coat it with dry wheat flour.

STEP 3 – Roll out dough ball in a circular shape (approx.7-8 inch in diameter) or as thin as possible.
Now spread ½ teaspoon ghee or oil evenly over entire surface using brush or your hand
and sprinkle 1 teaspoon dry wheat flour over it.

STEP 4 – Hold approx. 1/3 inch wide strip with your first two fingers and thumb from the top edge of rolled raw paratha, lift
and fold backwards such that top edge remains on top.
STEP 5 – Now hold two ends of plited strip and repeat lift and fold backwards process until entire rolled paratha is like a stack of folded plits.

STEP 6 – Now hold each ends of long stacked-plited strip with your first two fingers and thumbs. Lift the strip slowly away from rolling board and give a few mild gentle swings. This will stretch the strip a bit.

STEP 7 – Horizontally place elongated strip on rolling board.

STEP 8 – Roll it like a swiss roll. Press and stick outer-end against roll’s immediate surface. Prepare remaining rolls.

STEP 9 – Take one roll and place it horizontally on rolling board. Coat it with dry wheat flour and roll it out gently without applying too much pressure and give it a round shape (approx.5-6 inches diameter).

STEP 10 – Heat tawa or griddle over medium flame. Place raw lachha paratha on a hot tawa.
When you see tiny bubbles rise on the surface, flip it upside down.

STEP 11 – Spread 1 teaspoon oil over each side with spatula and cook until both sides gets evenly spread golden-brown spots.

STEP 12 – Transfer to plate and spread butter or ghee as per your preference. Repeat process for remaining rolls. Soft and crispy parathas are ready. 


METHOD 2:
 STEP 1 – Follow the procedure till step no. 3.

STEP 2 – Using a knife slice the roti from centre till one end as shown here.

STEP 3 – Separate the two cuts and start folding one cut by rolling it slowing across the roti disc.


STEP 4 – Keep rolling until the roti dough takes a shape of cone.The lachha roti cone is ready. We will now fold the cone in such a way that it will form layers called lachha.

STEP 5 – Hold the cone in both hands and start rotating one end like a screw.

STEP 6 – Keep rotating until the roti dough forms nice layers.
STEP 7 – Now press the roti dough against palm and make a flat disc folding all the layers in between.
STEP 8 – Using both hands press the roti dough slightly so that it retains the new shape.
STEP 9 – We have finally rolled the roti dough incorporating all the layers within along with the ghee.  We are now ready to roll the dough into lachha roti.
STEP 10 – On a rolling board, keep the lachha roti ball.
STEP 11 – Sprinkle some wheat flour and press the dough against the rolling board.
STEP 12 – Roll the dough into roti/paratha shape round disk slowly and gently without spoiling the layers.
STEP 13 – The lachha roti is ready roast. We can now roast the roti on stove.

STEP 14 - The lachha roti is ready to roast. We can now roast the lachha roti on a pan without using oil. Heat a flat bottom non-stick pan (tawa) and place the lachha roti once hot. Roast the roti on hot tawa till it gets nice brown color.

STEP 15 – Spread 1 teaspoon oil/ ghee over each side
and cook until both sides gets evenly cooked.
Repeat the same with the rest of the dough. Lachha paratha is ready to serve.

Serve hot lachha parathas with any dal, palak paneer, dum aloo or tawa paneer or any veg /non veg curry.