_________________I am Mrs. Kalpana Mhaske, a Home-Maker, from the city of 52-Gates, one of the famous heritage- destination of the world- Ajanta - Ellora Caves, Bibi-Ka- Maqbara (The Taj of Deccan) and Deogiri Fort. i.e. AURANGABAD. I admire cooking - tryout and innovate different cuisines. Basically, both of my gorgeous daughters are foodie, they have always encouraged me in the kitchen and forced to carve a Food Blog, that’s why, I am happy to share the makings with you. I am an artist too. Painting – especially, Canvas-Painting is my one more hobby. In total - Ours is an ART-FAMILY, my husband is an Architect. In the end, I keep the same belief with Louise Fresco - “ Food, in the end, in our own tradition, is something holy. It's not about nutrients and calories. It's about sharing. It’s about honesty. it’s about identity ”

Friday 25 August 2017

TRADITIONAL FRIED MODAK / पारंपारिक तळलेले मोदक

I wish you all a very happy ganesh chaturthi…..may bappa fulfil all your dreams. Hope everyone had a wonderful Ganesh Chaturthi….!!!
 Ganeshotsav or Vinayak Chaturthi is one of the most colourful and exciting 10 day lond celebrations. It is celebrated all over India with a full swing and enthusiasm in order to commemorate Lord Ganesha’s birthday.


Ganesh Chaturthi or Vinayak Chaturthi is a Hindu festival that worships Lord Ganesha. A ten day festival, it strats on the fourth day of Hindu luni-solar calendar month Bhadrapada, which typically falls in Gregorian months of August or September. The festival is marked with the installation of Ganesha clay idols privately in homes or publicaly on elaborate pandals. Observations include chanting of Vedic hymns and Hindu texts such as Ganapati Upanishad, Prayers and Vrata. Offerings and Prasad from the daily ptayers, that is distributed from the pandal to the community include sweets such as modak- believed to be a favourite of the elephant-headed daity. The festival ends on the 10th day after it start, wherein the idol is carried in a public procession with music and group chanting, then immersed in nearby water body such asa river or ocean, thereafter the clay idol dissolves and Ganesha is believed to return to mount Kailsh to Parvati and Shiva.


Fried Modaks are stuffed dumplings made during Ganpati Festival to offer Lord Ganapati during the pooja. These are very easy to make as compared to rice-modak, which are also called steamed modaks. These can stored for 2-3 days, as you can prepare them in advance. Ganesh Chaturthi is one of my favourite festivals and perhaps, the biggest festival in Maharashtra. Modak is a must for Vinayak Chaturthi/ Ganesh Chaturthi pooja as it is among Ganapati’s much-loved food. I usually make these modaks for naivedya. In Maharashtra, people also make Steamed-Modaks with rice flour. This modak is the contrast of textures and tastes; the soft and sweet inside and slightly savoury and crunchy exterior. These modak lasts a week longer than ukadiche modak and so if you can make them beforehand. Here is the step-by-step picture and video recipe of fried modak.

📌📌 Watch the full video recipe here 📌📌


INGREDIENTS:

For making cover:
1 Cup Wheat Flour
Salt as needed
½  tablespoon Hot Oil
 A Pinch of Sugar
Water as required to make a dough

For making filling:
1 Cup Dry Desiccated Coconut/ Coconut Powder
½ Powdered Sugar [as required]
¼ teaspoon Cardamom Powder
1 tablespoon Chopped Nuts [almonds+cashews]
½ teaspoon Chironji
1 tablespoon Roasted Sesame Seeds

METHOD:

For making the cover dough:
STEP 1 – Take wheat flour in parat or bowl, add salt, sugar and hot oil in it.
STEP 2 – Rub the flour with your hands.
 STEP 3 – Add water accordingly and make a soft dough with it. Cover the dough and keep it covered for about 10 minutes.


For making the filling:
STEP 1 – Mix all the ingredients in a bowl for filling and mix it well.
STEP 2 – Adjust the sweetness according to your taste. Keep it aside.


How to proceed :
STEP 1 – Now divide the dough in equal lemon sized balls.

STEP 2 – Take one ball and roll it in 4” diameter by dusting little flour on the rolling board.

STEP 3 – Place 1 tablespoon of coconut mixture in the centre. Apply some water or milk to the edges with your fingers.
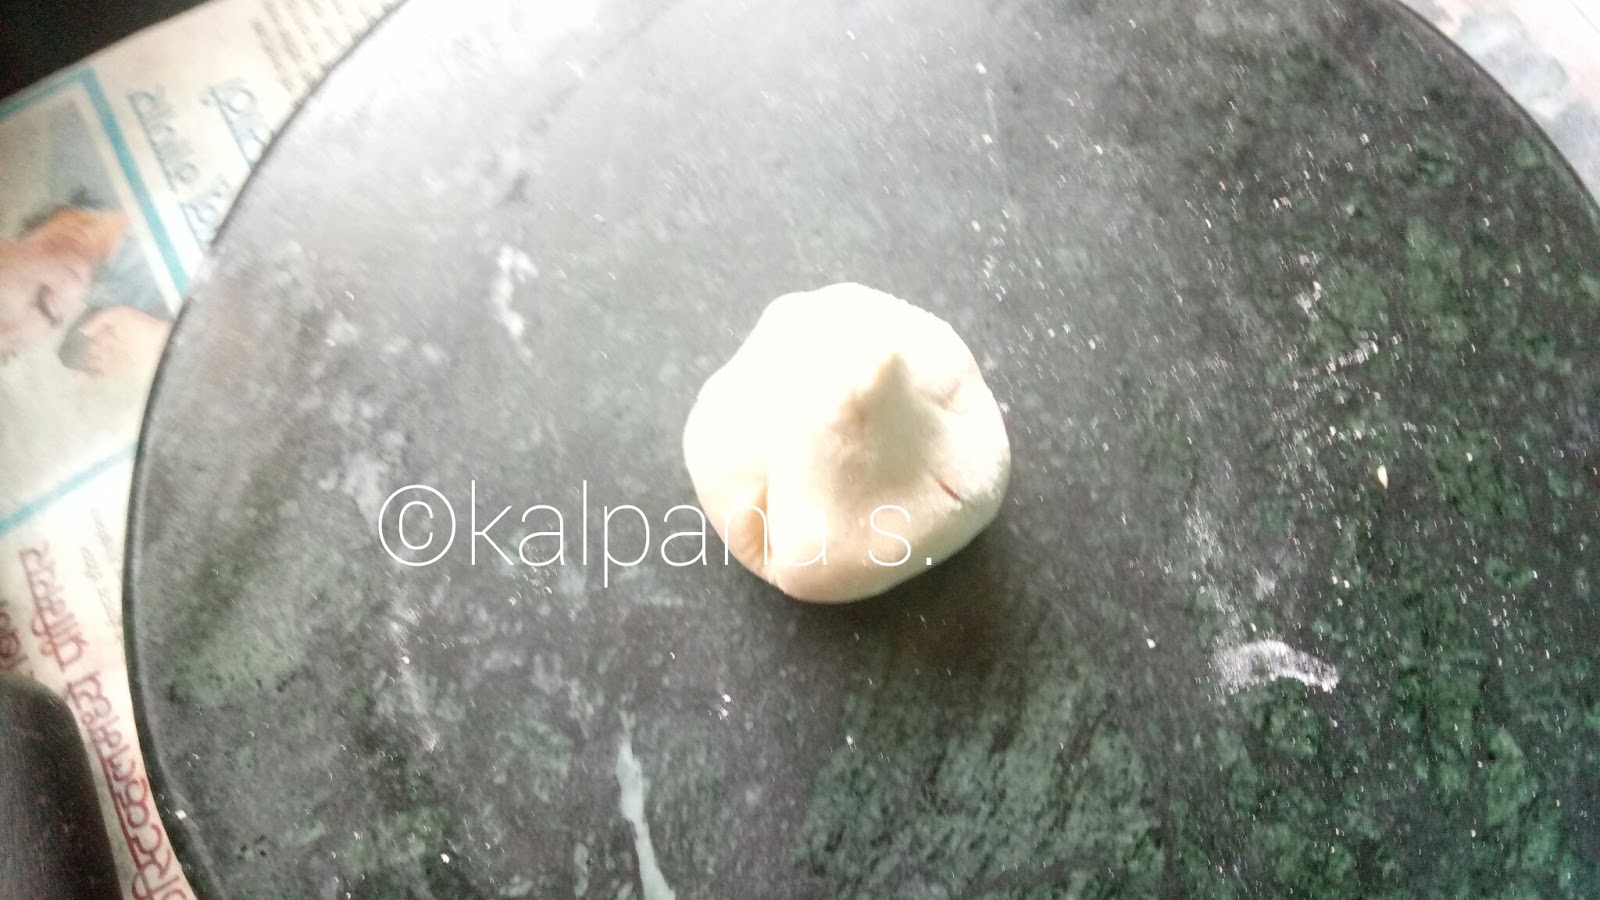
STEP 4 – Now take it into your palm and start pinching the edges with your thumb and middle finger as shown below in the picture.

STEP 5 – To make it perfect you need practice. More near you make the plates more beautiful it looks.
STEP 6 – Now bring all the pleats together and close the modak. Pinch them together to seal it properly.

STEP 7 – Follow the same with the rest of the dough and make all the modak.

STEP 8 – Heat oil in a wide pan on low heat for deep frying.

STEP 9 – Oil should be medium hot. Do check the oil by dropping  a little dough piece in it. If it comes out on the top instantly then oil is too hot. If it takes more time then your oil is not enough hot. If the dough piece takes some time like 1-2 seconds to come out then the oil is perfect to fry.
STEP 10 – Gently slide 2-3 modak in oil and deep fry them till light golden brown. Keep moving the modak for even frying.

STEP 11 – Then remove the fried modak on a tissue paper/ kitchen towel to drain excess oil.

STEP 12 – Likewise fry the rest of the modak. Let them cool before serving. 

Tuesday 22 August 2017

MANCHOW SOUP

I know most of us must have enjoyed this spicy delicious soup during cold/ winter season. I love this soup even though I am not a great fan of soya sauce and noodles. This is one of the most popular soup recipes from Indo-Chinese cuisine.  A hot and spicy soup made from veggies called Manchow Soup. Everyone loves this soup while go out for dinner/ lunch in restaurant. Every time when I take this soup, I always think how it is made up? Can I make it at home? Few days back on my husband demand tried it at home and it turned out so delicious. He is very happy with the result.  The consistency of this soup is less thick as that compared to tomato soup. But in case, if you like thick soup then you can increase the corn starch amount little bit. Try this manchow soup at home by your own and tell me your experience in comment box below.

INGREDIENTS:
1 Spring Onion, finely chopped [kanda pat]
1 Small Onion, finely chopped [kanda]
2 Garlic Cloves, finely chopped [lasun]
½ “ Ginger, chopped finely [adrak]
1-2 Green Chilli, chopped [hirvi mirchi]
¼ Cup Cabbage, grated [pattagobi]
4 French Beans, chopped finely
½ Capsicum, chopped finely [Shimla mirchi]
1 Carrot, grated [gajar]
2 Cups Water or as required
1 -2 teaspoon Oil
2 teaspoon Soy Sauce
2 teaspoon Chilli Sauce [as per your liking]
2 teaspoon Vinegar
1 teaspoon Black Pepper Powder [kali meeri powder]
1 Cup Boiled and Fried Noodles for topping

For Corn Starch:
3 tablespoon Corn Flour
¼ Cup water
1 Stem or Spring Onion for garnishing
METHOD:
STEP 1 – First take a sauce pan and heat it with oil.

STEP 2 – Then add finely chopped green chillies, ginger and garlic. Saute well till golden brown.
STEP 3 – Further add grated carrots, cabbage and other veggies in sauce pan and sauté well for a minute or two.
STEP 4 – Finally add capsicum and mix it ans sauté well.
STEP 5 – Add 2 cups of water and give a good stir. Add more water if required.
STEP 6 – Boil it for 5 minutes or till the veggies get cooked. Do not over cook the veggies. You need to enjoy the crunchy bite of veggies as well.
STEP 7 – Season it with salt and adjust it as per your taste.
STEP 8 – Add chilli sauce, mix well and cook for 1 minute. Increase or decrease the quantity as per your spice level.
STEP 9 – Add corn starch in it and give a nice stir. Cook it for 4-5 minutes or let it cook till the soup thicken.
Check the consistency and add more water if required.
STEP 10 – Meanwhile, cook the noodles, then add them to oil and fry till they are crisp.
STEP 11 – Drain excess oil from noodles on kitchen paper towel.
STEP 12 – Then add vinegar and soy sauce in it and mix it well.
 STEP 13 - Finally add black pepper powder and some greens of spring onion and give a good mix.
Serve the hot vegetable manchow soup topped with fried noodles and spring onions.


KALA JAMUN

Gulab Jamun is my favourite sweet of all time. But this time tried kala jamun, which is my pending recipe from last so many days. Kala Jamun a popular dessert sweet, which are for most festivals, weddings or any occasions. This is basically a soft-textured and deep fried dumplings. The regular gulab jamuns are light golden in colour whereas kala jamuns are dark in colour. Kala jamun is fried to a much darker colour is takes on totally different flavour. But never get tempted to increase the flame and burn the jamuns.  Unlike gulab jamun, kala jamun has crispy outer layer and is softer inside. Kala means black in colour because of double frying and it takes more time to absorb the sugar syrup than the regular jamuns. Traditionally, kala jamun is not served in a bowl of sugar syrup instead it is usually left to soak the syrup and then is served dry.  They are made with paneer, mawa and other ingredients. Here I tried to make it with two different shades but I think I added less saffron so there is no colour difference in my recipe.

INGREDIENTS:
100 gms Paneer / Cottage Cheese
200 gms Mawa / Khoya
50 gms All Purpose Flour /Maida
2 tablespoon Samolina / Rawa / Sooji
1-2 tablespoon Milk Powder [optional]
Ghee for frying
4-5 sliced Almonds, Pistachios each
4-5 strands of Saffron soaked in water
1 teaspoon Cardamom Powder
1 Pinch Baking Soda
For Sugar Syrup:
2 Cups Sugar
2 Cups Water
METHOD:
For making sugar syrup:
STEP 1 – Add sugar and water in a bowl and heat it.
STEP 2 – Bring it to boil till the syrup is one string consistency.
STEP 3 – Switch of the flame and keep it on the gas stove to keep it hot.
For making Kala Jamun:
STEP 1 – In a bowl, add grated mawa, paneer, all purpose flour, baking soda, sooji and cardamom powder and mix well.
STEP 2 – Mix it well and make a soft and smooth dough with it.
Divide the dough in two portions, one small and one big.
STEP 3 – Add sliced nuts and saffron water in small portion and mix it and keep it aside.
STEP 4 – Divide both the dough into equal small , lemon sized portions.
STEP 5 – Take a portion of plain dough and flatten it and fill it with the saffron dough portion. Close the sides and make a bullet shape.

STEP 6 – Likewise, make all the bullets with the rest of the dough.

STEP 7 – Heat ghee in a wide kadai on low flame.

STEP 8 – Deep fry the jamuns till dark golden brown or blackish in colour.

STEP 9 – Drain excess ghee from it and fry the rest of the bullets.

STEP 10 – Likewise fry all the jamuns and keep aside.

STEP 11 - Soak the jamuns in sugar syrup for 3-4 hours and then serve.


STEP 12 - Remove from the suger syrup and garnish them with some grated coconut and sliced nuts and serve. Serve the kala jamun hot or chilled.
You can microwave them for a minute at the time of serving or chill them in refrigerator and serve chilled.  

Sunday 20 August 2017

MOONG DAL DHOKLA

Gujarati menu is incomplete without Dhokla. Dhokla is one of the most popular, nutritious and healthy Gujarati recipes and Moong Dal Dhokla makes a great snack. It is made using soaked moong dal/ yellow lentils. . It is also known as a delicious and low calorie snack in other parts of the country.It is best enjoyed with a hot cup of tea /coffee. Served with tamarind meethi chutney, spicy mint chutney and fried chillies. It becomes an ideal snack for those who are prefer diet food and are looking for low calorie recipes. Dhokla is often paired with different dishes which include fafda, jalebi, imrati and other dry snacks. I have already shared instant Rawa / Sooji Dhokla and Besan Dhokla in my blog.

INGREDIENTS:
1 Cup Moong Dal [soaked for minimum 4-5 hrs or overnight]
2-3 Green Chillies
Salt as needed
2 teaspoon Sugar
A pinch of Asafoetida / Hing
½ teaspoon Turmeric Powder
2 tablespoon Gram Flour
2 tablespoon Curd 
2 teaspoon Eno
For Tempering:
4 tablespoon Oil
½ teaspoon Asafoetida / Hing
1 teaspoon Cumin Seeds / Jeera
1 teaspoon Mustard Seeds / Mohari/ Rai
2 teaspoon Sesame Seeds / Til
1 Sprig of Curry Leaves
For Garnishing:
Handful of Chopped Coriander
2 tablespoon Grated Coconut
METHOD:
STEP 1 – Wash and soak the moong dal in enough water for about 4-5 hours or overnight.
STEP 2 – Wash and drain excess water from moong dal and grind it to a fine and smooth paste with all other ingredients except Eno.[see notes] Add little water to make the paste. [don’t add excess water]

STEP 3 – Remove the paste in another bowl and add more water and give a nice stir.
STEP 4 – By that time heat pressure cooker for 5 minutes with some water in it.
STEP 5 – Grease and keep the mould /dhokla steaming plate ready.[see notes]

STEP 6 – Now add eno in it and stir it well. [see notes] . You can see the batter become foaming like idli batter. The texture of the batter is like idli batter, not so thick not thin. [see notes]

STEP 7 – Now immediately pour this batter in the greased mould / dhokla plate. Tap gently on the platform to remove air bubbles.
STEP 8 – Put this mould in the heated up pressure cooker and close the lid. [see notes]


STEP 9 – Close the lid of the cooker and steam the dhokla for 20 minutes on low flame.

STEP 10 – After 20 minutes, open the lid and taste if the dhokla is done or not with the help of tooth pick. [see notes] Switch off the flame and keep the dhokla in pressure cooker for next 5 minutes.

STEP 11 – Make a tempering with the tempering  ingredients and keep it aside.

STEP 12 - After cooling, remove the dhokla plate out of the cooker and demould it.

STEP 13 – Pour the tempering over the dhokla and spread it evenly.

STEP 13 – Garnish with grated coconut and chopped coriander. Cut the dhokla into squares or diamond shape and serve it immediately.

Serve the dhokla hot with sweet tamarind chutney and spicy mint chutney and yes some fried green chillies and enjoy…...!!!

NOTES: * I added green chillies at the time of grinding. You may add chopped green chillies after grinding.
                  *The dhokla plate must be 1 “ broad.
                  *Don’t over mix after adding eno in the batter. Don’t keep the batter for long time after adding eno in it.
                  *Here you don’t need the whistle, so remove it. Keep the rubber gasket only. Keep any stand or steel ring in the cooker.
                  *If the thooth pick  comes out clean means your dhokla is ready. If not then cook for another 5 minutes.
                  *You can add grated carrot or corn to the dhokla batter to make it more healthy.