_________________I am Mrs. Kalpana Mhaske, a Home-Maker, from the city of 52-Gates, one of the famous heritage- destination of the world- Ajanta - Ellora Caves, Bibi-Ka- Maqbara (The Taj of Deccan) and Deogiri Fort. i.e. AURANGABAD. I admire cooking - tryout and innovate different cuisines. Basically, both of my gorgeous daughters are foodie, they have always encouraged me in the kitchen and forced to carve a Food Blog, that’s why, I am happy to share the makings with you. I am an artist too. Painting – especially, Canvas-Painting is my one more hobby. In total - Ours is an ART-FAMILY, my husband is an Architect. In the end, I keep the same belief with Louise Fresco - “ Food, in the end, in our own tradition, is something holy. It's not about nutrients and calories. It's about sharing. It’s about honesty. it’s about identity ”

Thursday 21 December 2017

TOMATO MIRCHICHA THECHA

This dish is sure to add of excitment to your meal. A classic Maharashtrian accompaniment, the Green Chilli Thecha. It is super spicy dish made by just grinding green chillies and peanuts. It is too spicy to be eaten with roti or bhakri. It can be made in small batches and stored in the fridge for 4-5 days. A delectable combination of green chillies, garlic, peanuts, tomato, onion and coriander. This can be ground in mixer but will taste even better when you patiently crush it in a mortar-pestle. This is made in each and every Marathi family in different ways. There are many variations of this simple recipe, I have already shared one recipe before in my blog which is only with green chillies and garlic and coriander leaves only which is too spicy than this version. When you look at the ingredients of thecha it will sound weird that how many chillies are used to make this chutney, but it tastes best and sparingly with jawar , bajra roti or even with any plain rice dish like dal-chawal[ waran -bhat] or khichadi. It gives ting to your taste buds and tastes absolutely delicious. 

INGREDIENTS:
100 gms Green Chillies
¼ Cup Peanuts
2 Small Tomatoes, chopped
3 Small Onions, chopped
15-20 + 5-6 Garlic Cloves
Salt as needed
1 tablespoon Oil
Chopped Coriander
METHOD:
STEP 1 – Heat pan with 1 teaspoon oil,
add green chillies, peanuts and garlic on it and roast it for 5 minutes or till chillies change colour.
STEP 2 – In a mortar-pastle, ground all this ingredients roughly with salt. [see notes][here i made it in mixer pot]

STEP 3 – Now heat a pan with oil, add 5-6 garlic cloves on it with chopped onion and roast well till light brown.

STEP 4 – Then add chopped tomatoes in it and mix well and cook it. Mash tomatoes with the back of the spoon.

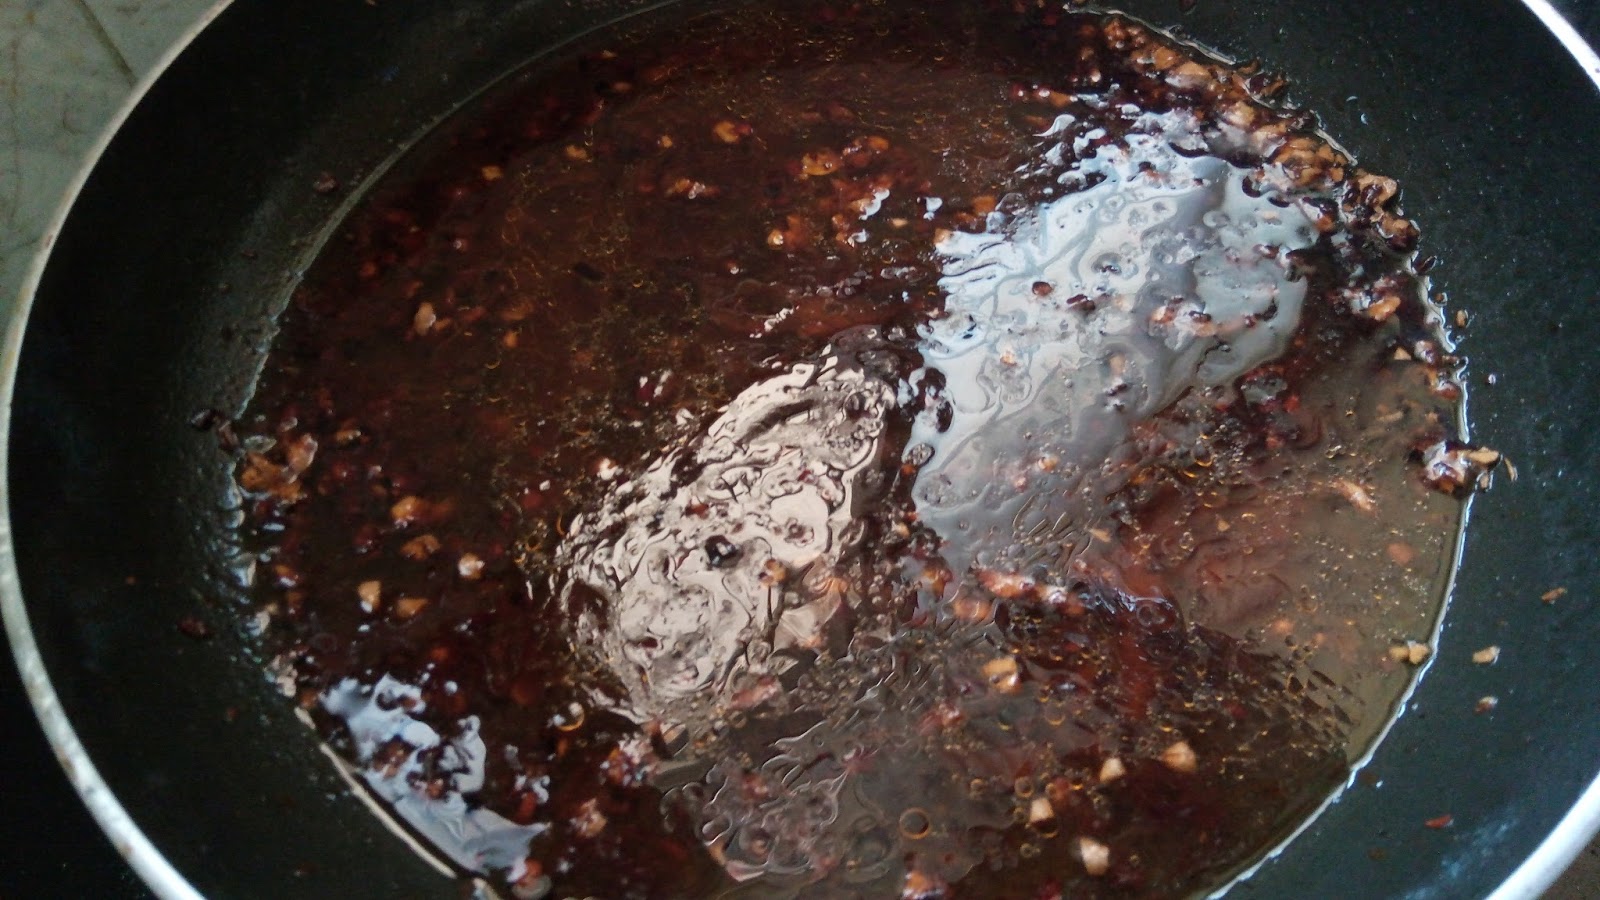
STEP 5 – Now add roughly ground chilli mixture and mix it well. Cook for 4-5 minutes.

.
STEP 6 – Finally add chopped coriander and switch off the flame and serve.

Serve Kolhapuri Thecha with Jowar Bhakri/ Bajra Bhakri or enjoy it with your meal.

NOTES: *I don’t have big mortar-pastle, so ground it in mixer chutney pot.
              *You can store this thecha in refrigerator for one week when stored in an air tight container.


EGGLESS MALABAR PARANTHA / KERALA PAROTTA

It is layered soft and flaky bread made out of plain flour and oil. It is a popular Indian street food. It is very popular in the southern states of India-Kerala, Karnataka and Tamilnadu. Usually it is made which is with egg in it. But today I am sharing with you an eggless and it scrumptiously tasty parotta which can be easily prepared at home with very few ingredients like all purpose flour, milk,ghee/ oil. The secret of the flaky texture of this parotta lies in kneading the dough more time to loose soft texture. It tastes best when served hot. I have made this parotta at home many times but everytime I forgot to take the picture so only sharing one picture which actually clicked for the curry recipe. But I promise when I prepare the next time will click first and then serve it.  
   
INGREDIENTS:
2 Cups All Purpose Flour [maida][see notes]
1 tablespoon Ghee
½ Cup Milk
½ teaspoon Sugar
Salt as per needed
Luke warm Water as needed
Oil / ghee as per required
METHOD:
STEP 1 – In a mixing bowl, add flour, ghee, milk, sugar, salt and mix well.
STEP 2 – Then add luke warm water and start kneading a dough. Make a hard dough for this recipe.
STEP 3 – Cover the dough and let it sit for 15-20 minutes.
STEP 4 – Divide the dough in equal size portions. Apply oil on the dough balls and keep them covered for 5-10 minutes.
STEP 5 - Spread some oil / ghee on the platform and start rolling the dough ball.
STEP 6 – Make a circular disc of about 5-6 “. Apply oil/ghee on it evenly.
STEP 7 – Now dust a little refined flour on the chapatti.
STEP 8 – Make small plates as shown in the picture and roll into a round ball. Follow the picture for this step.
STEP 9 – Now cover and keep this round balls aside for 5 minutes.
STEP 10 – After 5 minutes, take one ball and again roll it like a chapatti with light hands.
STEP 11 – Heat a non-stick tawa/ griddle on low flame.
STEP 12 – Place a chapatti on it and roast it from both the sides.
STEP 13 – Drizzle ghee/ oil and cook it from both sides until light brown and crispy. Remove it and serve it hot.
Serve hot Malabar Parantha without egg with Any Indian Gravy like egg curry, vegetable korma to make it a complete meal.


NOTES: *You can take 1 cup whole wheat flour+ 1 cup all purpose flour for the dough.

SITAPHAL ICECREAM / CUSTARD APPLE ICECREAM

One of the only fruits that I love but frustrates me is Sitaphal  or custard apple. So much jaw work and while the fruit is tasty, the ones with lots of seeds can leave you with a sore mouth. The seasons last few weeks and all over here at my place one can see vendors selling heaps of this fruits. While I love eating fruit fresh as they are , I am trying to use them in more ways that just bite into them. When you eat custard apple right out of the fridge, it does sometimes feel like ice cream, doesn’t it? Imagine making a proper ice cream out of it!!! Sitaphal  Icecream is one of the favourite flavour of ice cream of my hubby, so anyhow I want to make it specially for him. For that I figured out an easy way to remove the seeds from custard apple, and obtained the fine and smooth pulp from custard apple. Removing the seeds has been my most excited achievement this past week. This recipe is without churning  and results in creamy and delicious ice cream.  Custard Apple ice cream is a must-try when the fruit is in season. A combination of milk, cream and milk powder given this heavenly ice cream the perfect creaminess. So do try it once as custard apples are in season right now.


INGREDIENTS:
1 Cup Milk [full fat]
½ Cup Powder Sugar
100 gms Cream [malai][I have used Amul low fat cream]
6 tablespoon Milk Powder
Pulp from 2-3 Custard Apple

METHOD:
STEP 1 – Take milk in the bowl and add milk powder in it and mix well so that it get combined with milk totally.

STEP 2 – Now mix custard apple pulp [see notes], sugar and cream in the milk mixture .

STEP 3 – Blend together with the help of the electric beater till  you get a smooth texture.

STEP 4 – Transfer the mixture into the container in which you want to set the ice cream and keep it in freezer for about 1 hour.

STEP 5 – Now remove the ice cream container from freezer and loosen it slightly.
STEP 6 – Then again whisk it well with the beater till smooth consistency.

STEP 7 – Now transfer the ice cream mixture in the container and set it for 4-5 hours.
Sitaphal Ice cream is ready to serve. Scoop it and serve it.


NOTES: I have shared “How to remove pulp from custard apple “separately in my blog.

CHOCOLATE MUFFINS

The ultimate in boozy dessert is her- chocolate muffins topped with a decadent chocolate frosting and sliced nuts. I had been planning to bake cupcakes from last few days but was tied up with some personal urgencies.  But today I prepared them specially as Christmas is there in 2-3 days. They are probably my favourite cupcakes of all the time. The cupcakes have cocoa powder and coffee powder in it and topped with chocolate chips. The coffee powder enhance the flavour and gives and extra colour. To top them off, used chocolate frosting which is made  with melted chocolate which actually made them more chocolaty and what’s better than having real melted chocolate frosting??? With a cremy frosting, a light but moist chocolate cupcakes is the key to make this perfect combination.  You can make them with any other frosting of your choice but at my place every one is chocolate fan so I made it this way. Everyone loves them and said it was super tasty!! It was so good , I just wanted more…..


INGREDIENTS:
1 ½ Cup All Purpose Flour
1/3 Cup Oil [you can use any oil]
1 Cup Sugar
½ Cup Milk
½ teaspoon Baking Powder
½ teaspoon Baking Soda
 1 teaspoon Coffee Powder
3 tablespoon Cocoa Powder
1 tablespoon Vinegar
Choco Chips for garnishing

For Chocolate Frosting: [ganache]
250 gms Fresh Cream
500 gms Dark Chocolate

METHOD:
STEP 1 – Pre-heat the oven at 180 degree C for 10 minutes.
STEP 2 – Keep ready the muffin tray with muffin liners.
STEP 3 – In a bowl add oil, milk and vanilla essence
and whisk it with hand whisker.
STEP 4 – Then add powder sugar in it and mix well till sugar get melted in it.
STEP 5 – Now in another mixing bowl, take all the dry ingredients
and sieve them.
STEP 6 – Mix this dry mix into the sugar- milk mixture
and mix well.
STEP 7 – Don’t over mix the batter.
You have to mix it by cut and fold method with very light hands.[see notes]
STEP 8 – Finally, add vinegar in the batter, mix once
and keep it aside for 5 minutes without disturbing it.[see notes]
STEP 9 – After 5 minutes again give a nice mix to the batter
and then scoop out the batter in the moulds up to ¾ th.
STEP 10 – Add chocochips on the top.
STEP 11 – Bake the muffins for 20-25 minutes on 180 degree C.
After 23 minutes check with the tooth pick, if it comes out clean, they are ready, otherwise bake them for more 2-3 minutes.
STEP 12 – Keep them in oven for 5 minutes.
STEP 13 – Remove from oven and keep them on the wire rack to cool down completely.

For making Chocolate froasting: [ganache]
STEP 1 – Take cream in a sauce pan and heat it up on low flame.
STEP 2 – When it comes to boil, pour it on the chopped dark chocolate pieces.
STEP 3 – Rest it for 2 minutes. Then mix it well till the chocolate get completely melted and mixed with the cream.
STEP 4 – Let it cool and then fill it in a piping bag.

STEP 5 – Now pipe out the ganache over the cooled muffins and garnish with chopped nuts or colourful sprinkles and serve.


NOTES: If the batter is too thick add 1-2 tablespoon milk in it and mix it.

Here vinegar helps to start the reaction of baking soda and baking powder and make the muffins light and fluffy.

MIX VEG LOLLIPOS

Have you ever had one of those strange cravings when you really want to smell deep fried stuff, hear crackle, bite with a crunch that you can’t resist?? Here is the perfect remedy for such cravings. This is prepared with with all regular ingredients that you will be having in your pantry . Mix veggie lollipops is one more easy finger food recipes for toddlers / kids. When it comes to feeding kids, variety plays a huge role. It could be the same spices and same ingredients, but the way you present it counts a lot, just like in mix veg lollipops. These crispy lollipops are perfect tea time snack or starter recipe for the party. An easy, quick and tasty appetiser recipe made with mix veggies and potatoes.They are crispy outside, and soft inside with the perfect dip with it.An appetiser recipe that you can put together when want to serve something different than pakora recipe for the monsoon.When your child refuses to eat anything from vegetable, try making these nutritious finger food lollipops-perfect for tiny hands.

INGREDIENTS:

For Lolipops:
1 Cup Mix Veggies, finely chopped [cabbage, grated carrot,spring onion, blanched sweet corns]
2 Big Potatoes, boiled, peeled and mashed
2 tablespoon Coriander, finely chopped
2 tablespoon Corn Flour
Salt as needed
Pinch of Crushed Black Pepper

For Dipping Sauce:
½ teaspoon Chilli Flakes
2-3 Garlic Cloves
2 tablespoon Tomato Sauce
2 teaspoon Soy Sauce
1 teaspoon Finely Chopped Spring Onion Green

Other Ingredients:
All Purpose Flour + Water Paste
3-4 tablespoon Bread Crumbs
Oil for frying

METHOD:
STEP 1 – Boil, peel and mash the potatoes.
STEP 2 – Mix them with the rest of the veggies.
STEP 3 – Add corn flour in it and the rest of the ingredients for Lollipops.
Mix well to form a dough without adding water in it.
STEP 4 – Shape into lollipops and insert tooth pick in each lollipop.
STEP 5 – Deep them in All purpose paste
and then coat them with bread crumbs.

STEP 6 - Heat oil in a pan, deep fry the lollipops until golden brown in colour.
STEP 7 – Remove and keep them on tissue paper or kitchen towel to drain excess oil. Keep them aside.
For making the sauce:
STEP 1 – Heat 2 teaspoon oil in a small pan.
STEP 2 РThen add finely chopped garlic in it with chilli flakes and saut̩ for few seconds.
STEP 3 – Add 2 tablespoon Tomato Sauce and 2 teaspoon soy sauce in it and mix it.
STEP 4 – Add ½ cup water in it and cook the sauce till the sauce thickens.
Switch of the flame when it reached to desired consistency.
STEP 5 – Now  keep the veggie pops in a serving plate and drizzle sauce over it and garnish them with spring onion and serve.


Serve as a evening snack or you can make them for kids birthday party or kitty party. You can serve more sauce in a bowl  for extra punch.