_________________I am Mrs. Kalpana Mhaske, a Home-Maker, from the city of 52-Gates, one of the famous heritage- destination of the world- Ajanta - Ellora Caves, Bibi-Ka- Maqbara (The Taj of Deccan) and Deogiri Fort. i.e. AURANGABAD. I admire cooking - tryout and innovate different cuisines. Basically, both of my gorgeous daughters are foodie, they have always encouraged me in the kitchen and forced to carve a Food Blog, that’s why, I am happy to share the makings with you. I am an artist too. Painting – especially, Canvas-Painting is my one more hobby. In total - Ours is an ART-FAMILY, my husband is an Architect. In the end, I keep the same belief with Louise Fresco - “ Food, in the end, in our own tradition, is something holy. It's not about nutrients and calories. It's about sharing. It’s about honesty. it’s about identity ”

Friday, 27 May 2016

VEG GRILLED SANDWICH


It is one of the famous street food not only in Mumbai but you will see many sandwich stalls all over India. I am so excited to share this veg grill sandwich recipe with you friends. It tastes exactly same as sandwich stall one. You can use veggies as per your choice and added cheese to it then it will be vegetable grilled cheese sandwich . Make it however you liked. Here for my sandwiches I used grill pan, you can use grill machine or sandwich maker or simply the regulr non-stick pan. The only difference is that you will not get the grill effect if using non-stick pan.


INGREDIENTS:
8-10 Bread Slices
       ½ Cup Sliced Capsicum
½ Cup Red Bell Pepper
½ Cup Yellow Bell Pepper
1 Cup Grated Cabbage
Shezwan Sauce [as required]
Butter [as required]
Grated Cheese [I used Amul cheese cubes]
Dry Herbs

METHOD:
STEP 1 – First you have to keep ready your veggies sliced.

STEP 2 – Now to start with the recipe, first apply butter on the bread slices, then spread some shezwan sauce over it. Repeat this with the rest of bread slices. Keep them side.

STEP 3 – Now put the veggies one-by-one over the bread slice.
STEP 4 – Add grated cheese over it and then sprinkle dry herbs on it. Cover with the other bread slice, shezwan sauce side down.


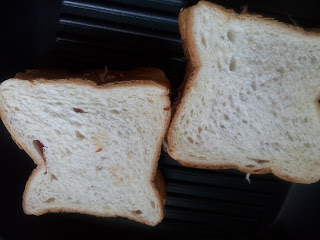
STEP 5 – Heat grill pan with some butter, carefully put the sandwich on the grill pan, lightly press it with spatula and roast them till golden brown/ cheese get melted.

STEP 6 – Once grilled from one side, carefully flip it. Grill from both sides and serve them hot. Repeat the same for rest sandwiches.


           Serve the grilled veg sandwiches hot with tomato ketchup.


NOTE: You can serve it as it is or slice it with sharp knife or bread knife. Make sure that filling does not comes out.

HOMEMADE MANGO FROOTI


Frooti is the largest selling fruit drink in India. The drink contains mango pulp, water, sugar, preservatives and colouring and flavouring agents. But in this recipe, no need of preservatives here. You can make fresh mango frooti at home for your guests and impress them with a cool and refreshing summer drink.
I hope in every family there is one person who loves Mazza/ Frooti/ Slice. These are mango based drink and really yummy. I also love them but my elder daughter loves it  a lot. Kids really enjoy them but what about the preservatives?? So I tried this recipe which is homemade and without preservatives and I am very happy that it came out just like store bought one.  
 This can be used to cocktails and mock tails to brind in the exotic flavour. ”Mango frooti, fresh and juicy”, hope you all love the recipe, if yes then don’t forget to comment below in the comment box….enjoy cooking.


INGREDIENTS:
 1 Raw Mango [kairi]
2 Ripe Mango [amba]
1-1/4 Cup Sugar
3-1/2 Glass Water

 METHOD:
STEP 1 -  Wash the mango n kairies and pressure cook them with 1 and ½ glass of water for 3 whistles or till cooked well. Let them cool.


STEP 2 – By that time, we have to make the sugar syrup with 2 glass of water and 1 and ¼ cup of sugar.  No need to make a thick consistency of the syrup.  [Just boil it well for about 5-7 minutes.] Let it cool to room temrature.

STEP 3 – Now peel the mango-kairi and remove and mix the pulp with the water we used for cooking them.

          STEP 4 – Strain it with the strainer to remove the fibres from     the pulp.


 STEP 5 – Now mix the pulp with the sugar syrup and again strain  with a fine strainer. Chill it in   the  refrigerator for 2-3 hours and serve chilled frooti to your loved ones.


          Serve chilled homemade frooti on a sunny summer day to beat the summer heat.


NOTE: You can use it in your mock tails or cocktails to bring in the exotic mango flavour.
You can add this to the lassi to make mango lassi or desserts to make a refreshing non-alcoholic beverage.
They can be added to ice creams, sorbets and soufflés.

Thursday, 26 May 2016

ESPRESSO CHOCOLATE CHIP ICE CREAM


This is the homemade espresso chocolate ice cream recipe is the best ice cream in the world!!! I am not just saying that I’m made it but I am telling you that you will never ever taste a more delicious espresso ice cream than what I have made here. Oh I know I sound bold, but I’m not boasting. This is a Fact!! I have been increasingly having cravings for ice cream. Coffee ice cream can definitely be done wrong and it can definitely be done right. But no matter what you do, I think chocolate is always a good addition. It was the most aromatic and luxurious coffee ice cream I could have hoped for. You can serve this espresso chocolate chip ice cream scooped over a warm chocolate brownie. 


INGREDIENTS:
 2 Cups Heavy Cream
1 Cup Condensed Milk
2-3 tablespoon Espresso Powder [depending on how strong of a coffee flavour you want]
½ Cup Mini Chocolate Chip


METHOD:
STEP1 – In a large bowl, whisk cream until soft peaks.


STEP 2 – Then add condensed milk to it and again whisk.

STEP 3 – Add coffee powder to it and mix well with a spatula.

STEP 4 - Pour the contents into the ice cream pot and then freeze the ice cream in freezer for about 6 hours.

STEP 5 – Halfway through the setting process, add in the chocolate chips.

STEP 6 – Once the ice cream set well, just scoop it and serve.


          Serve the chilled ice cream to beat the summer heat.

KANDA POHA


This is very popular tea time snack or breakfast recipe from Maharashtra. Maharashtrians would feel lost without poha! Beaten rice flakes tossed with the traditional tempering of mustard seeds, chillies and curry leaves. A quick easy tea time snack ready in just few minutes. Other variations of making poha include batata poha, dadpe pohe and many more. At my place, mostly on every Sunday, I used to make poha as my hubby and elder daughter love poha. 


INGREDIENTS:

 2 Cups Poha / Flattened Rice

2 tablespoon Oil

1 teaspoon Mustard Seeds

1 teaspoon Cumin Seeds

A pinch of Asafoetida

2-3 Finely Sliced Onions

8-9 Curry Leaves

4-5 Chopped Green Chillies [as per liking]

½ teaspoon Turmeric Powder

Salt to taste

1 teaspoon Sugar [optional]

1 tablespoon Roasted Peanuts

Chopped Coriander

Desiccated Coconut, Nylon Sev for Garnishing

1 Lemon Juice


METHOD:


Preparation:

STEP 1 – First take a strainer, add poha and wash under running water and keep them aside for 5-10 minutes and let drain the excess water. Be careful, don’t over wash, it makes the poha soggy.


For Making :

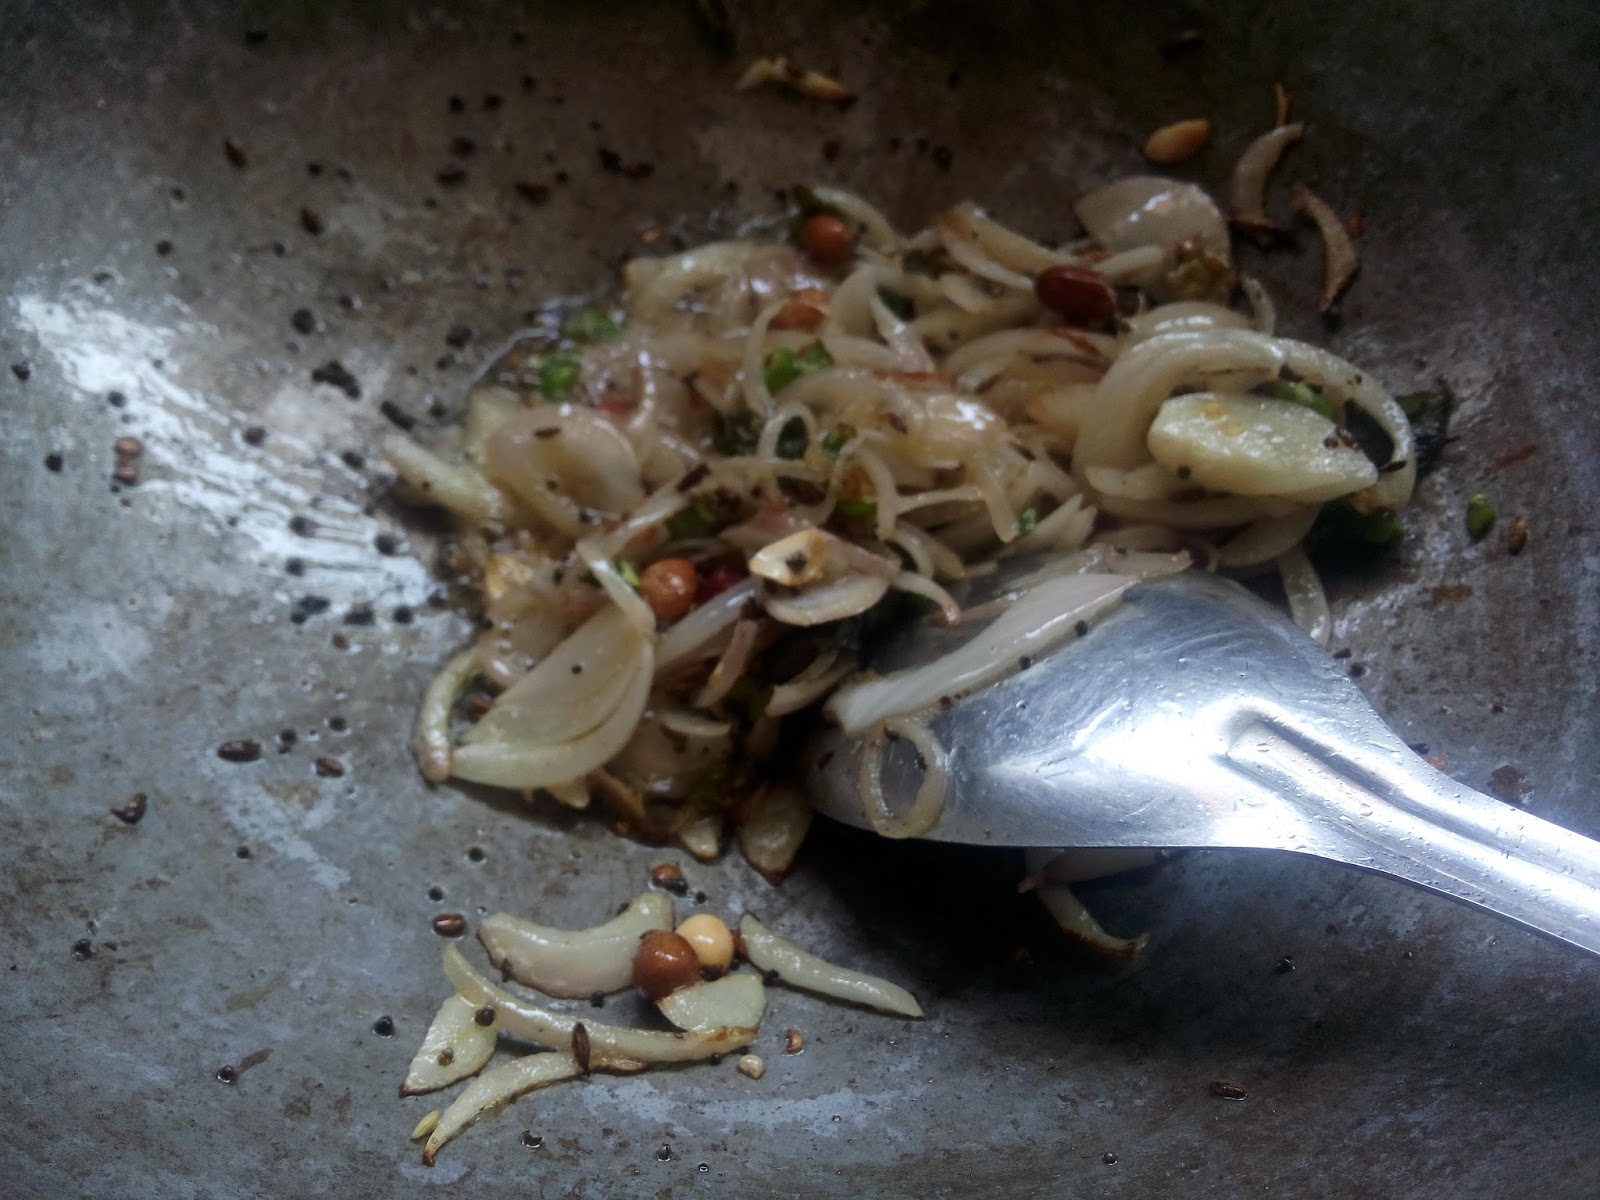
STEP 1 – Heat a wide pan with oil and let crackle cumin-mustard seeds. Add peanuts and roast for few seconds.


STEP 2 – Now add chopped onions, chillies and curry leaves in it and sauté well for about 1-2 minute or until the rawness vanish. Lastly, add a pinch of asafoetida.


STEP 3 – Add turmeric powder and salt and mix well.

STEP 4 – Then add washed poha and mix them well with the onions.


STEP 5 – Cook covered for next 2-3 minutes. Just check the salt and adjust if less.


STEP 6 – Then add sugar to it and mix. Finally, add lemon juice to it and give a stir and mix it and garnish with chopped coriander, switch off the flame and serve.


Serve hot kanda poha garnished with a teaspoon full of desiccated coconut. 


NOTE: *Adding sugar is totally optional.

             *Don’t over wash the poha.

             *You can serve it with mango pickle for a tangy flavour.

          *I mixed the salt and turmeric powder in the poha after washing them in the strainer only.      
            * It  is not necessary to add like this, you can add it in tempering/ in the poha.