_________________I am Mrs. Kalpana Mhaske, a Home-Maker, from the city of 52-Gates, one of the famous heritage- destination of the world- Ajanta - Ellora Caves, Bibi-Ka- Maqbara (The Taj of Deccan) and Deogiri Fort. i.e. AURANGABAD. I admire cooking - tryout and innovate different cuisines. Basically, both of my gorgeous daughters are foodie, they have always encouraged me in the kitchen and forced to carve a Food Blog, that’s why, I am happy to share the makings with you. I am an artist too. Painting – especially, Canvas-Painting is my one more hobby. In total - Ours is an ART-FAMILY, my husband is an Architect. In the end, I keep the same belief with Louise Fresco - “ Food, in the end, in our own tradition, is something holy. It's not about nutrients and calories. It's about sharing. It’s about honesty. it’s about identity ”

Monday, 23 January 2023

GAJAR MOOLI HARI MIRCH KA ACHAR

Winter is incomplete for me without making jars of different pickles . Carrot ,radish , amla , lemon and fresh green and red chilies are favourites. These pickles are easy and simple to make and taste awesome. Fresh and crisp carrots and radishes are available in abundance in the market in this season. These fresh winter vegetables are so good to make vegetables, halwa , stuffed parathas, soups and even my favourite  -pickles. Mango and lemon pickles are obviously the best among all the pickles . But seasonal pickles have their own crisp and fresh taste.


Pickles were invented as a preservative. They enabled one to use seasonal vegetables around the year. The most common preservatives are oil, high salt/sugar, vinegar, etc. And humans being the inventor that they are kept on creating different ways and varieties. I love to make Instant pickles. They allow you to go minimal. With little use of oil, salt and other preservatives they allow you to make the most of the seasonal vegetables and make the most of them.

This Gajar Mooli pickle is one of my husband’s favorite pickle which he always likes to eat with mixed dal. This gajar mooli ka achar is very simple to make, you can adjust the ratio of vegetables as per your choice. The addition of ginger and green chilies is also optional. As it is cooked rather than matured in the sun, it needs to be consumed within a month or so.

Enjoyed with plain paratha, aloo Parathas ,gobhi parathas and as  a side dish to any meal. Hope you like this sardi wala Gajar Mooli ka Achar.

INGREDIENTS :

2 medium Carrot /गाजर 

2 medium Radish/ मूली 

12-15 Green Chillies/ हरी मिर्ची 

2 inch Ginger cut in juliennes/ अद्रक

10-15 Garlic Cloves/लहसुन की कली 

2 tablespoon Mustard Seeds / सरसों 

2 tablespoon Yellow Mustard/पिली सरसों 

12-15 Peppercorns / काली मीरी 

1/2 teaspoon Cumin Seeds /जीरा 

1/2 teaspoon Fenugreek Seeds /मेथी दाना 

1 tablespoon Coriander Seeds/ साबुत धनिया 

2 teaspoon Fennel Seeds/सौंफ 

1/2 teaspoon Carom seeds / अजवायन 

1/2 teaspoon Kalonji /कलोंजी 

 2 teaspoon Kashmiri Red Chilli Powder /काश्मिरी मिरची पावडर 

1/2 teaspoon Turmeric Powder /हल्दी पावडर  

2 teaspoon Salt/ नमक

1/2 Cup Mustard Oil /सरसों का तेल 

1 teaspoon Asafoetida/ हिंग 

1 tablespoon White Vinegar  / सिरका 

METHOD : 

STEP 1 - First wash the Ginger, Mooli & Gajar and keep them on a kitchen towel to dry. 

STEP 2 -  Then peel them well. Keep aside.


STEP 3 – Wash the all green chillies and remove the stem.


STEP 4 – Now cut all  vegetables in medium thick slices /batons of about 1.5- 2 inches  as shown below. Slit green chillies

STEP 5 - Cut the ginger and garlic in juliennes. Keep this aside.


STEP 6 - Place a pan on low flame, add mustard seeds, yellow mustard, peppercorns, cumin seeds .


Dry roast well for some seconds.

STEP 7 - After few seconds, add fenugreek seeds, coriander seeds, fennel seeds and  crushed carom seeds and roast them. 


STEP 8 - When the masala turns aromatic, turn off the flame, transfer to a plate and let everything cool down.


STEP 9 - Add the masala ingredients into a grinding jar and make a coarse powder. Transfer the masala to a bowl and keep aside.


STEP 10 -  Transfer the veggies in a mixing bowl and add  kashmiri red chilli powder, turmeric powder, kalonji and mix everything well. 


STEP 11 -  Heat the mustard oil in the pan or skillet until it is almost smoking. 


STEP 12 - Switch off the flame after the oil starts smoking and let it cool down a bit.


STEP 13 - Now again turn on the flame, the oil should be slightly warm at this point. Then add 1 teaspoon asafoetida (hing).
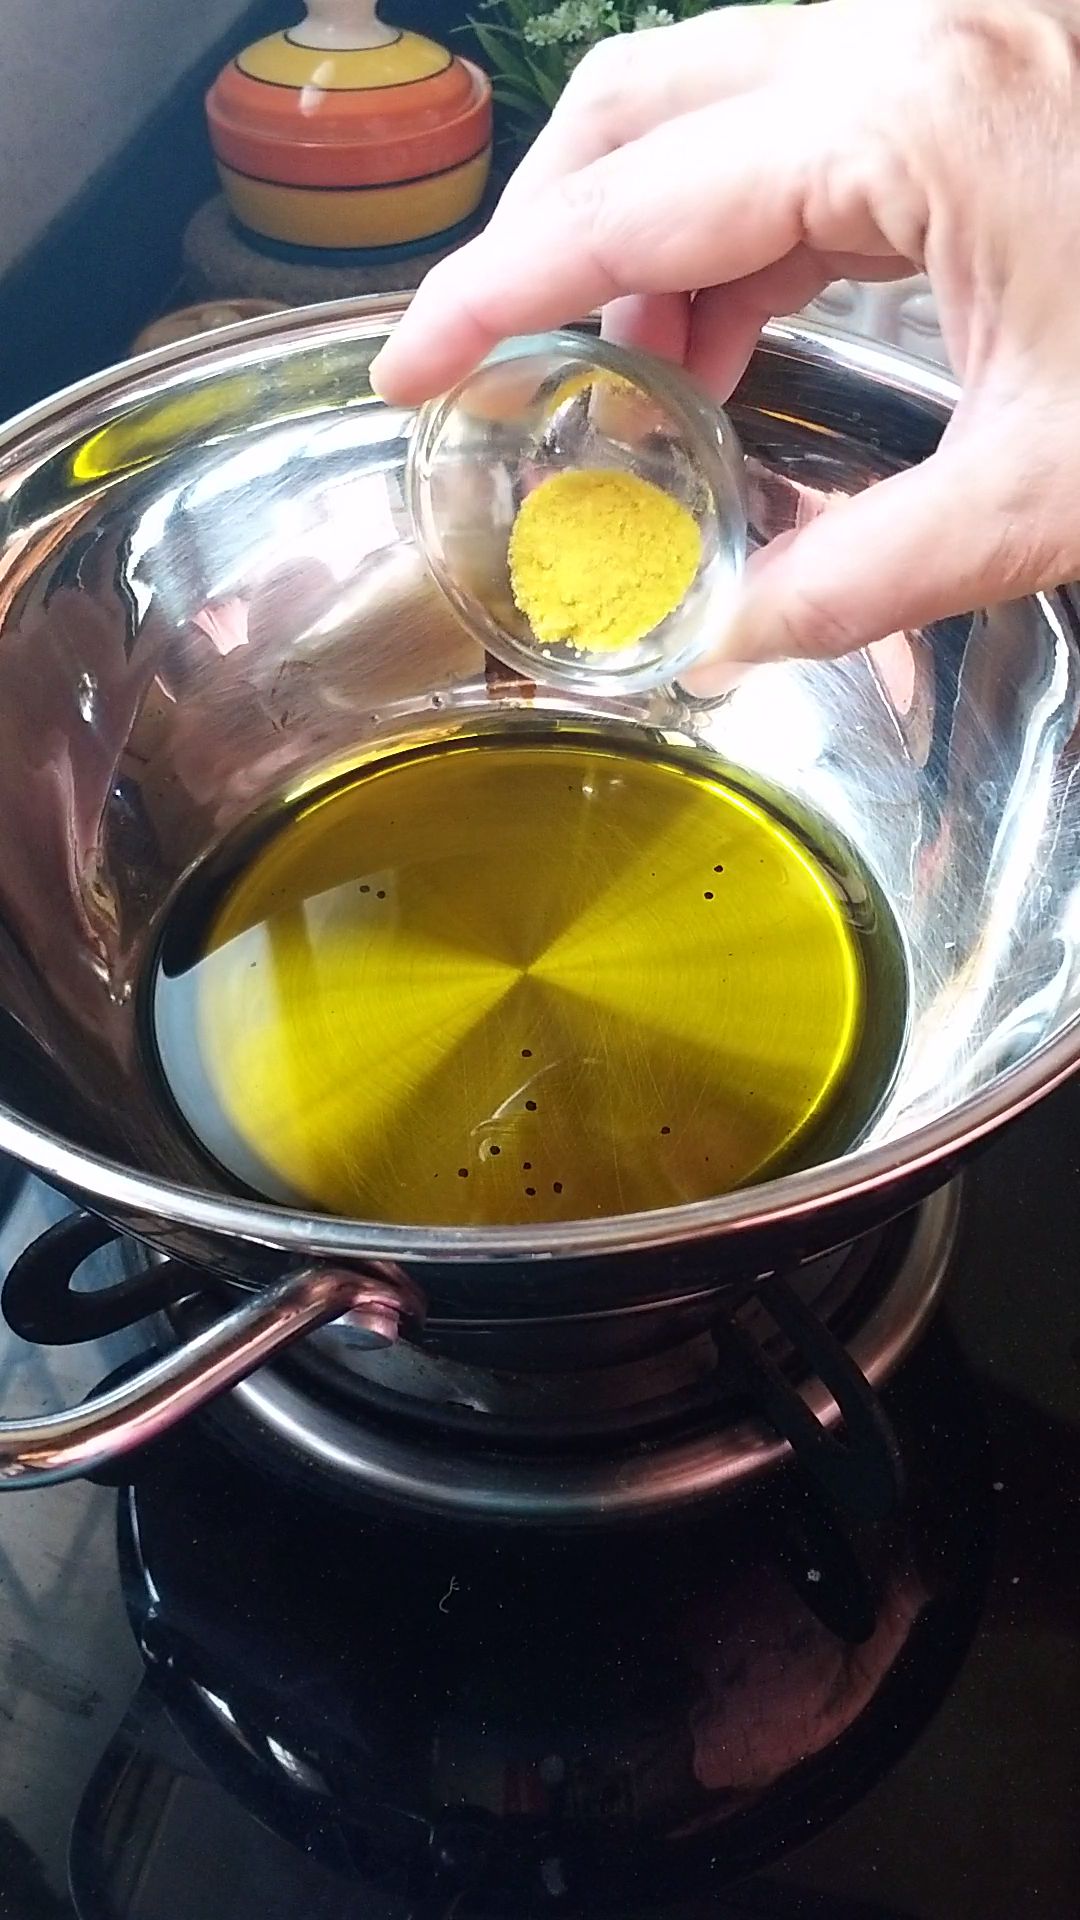

STEP 14 - Add all chopped vegetables and mix well on low flame.


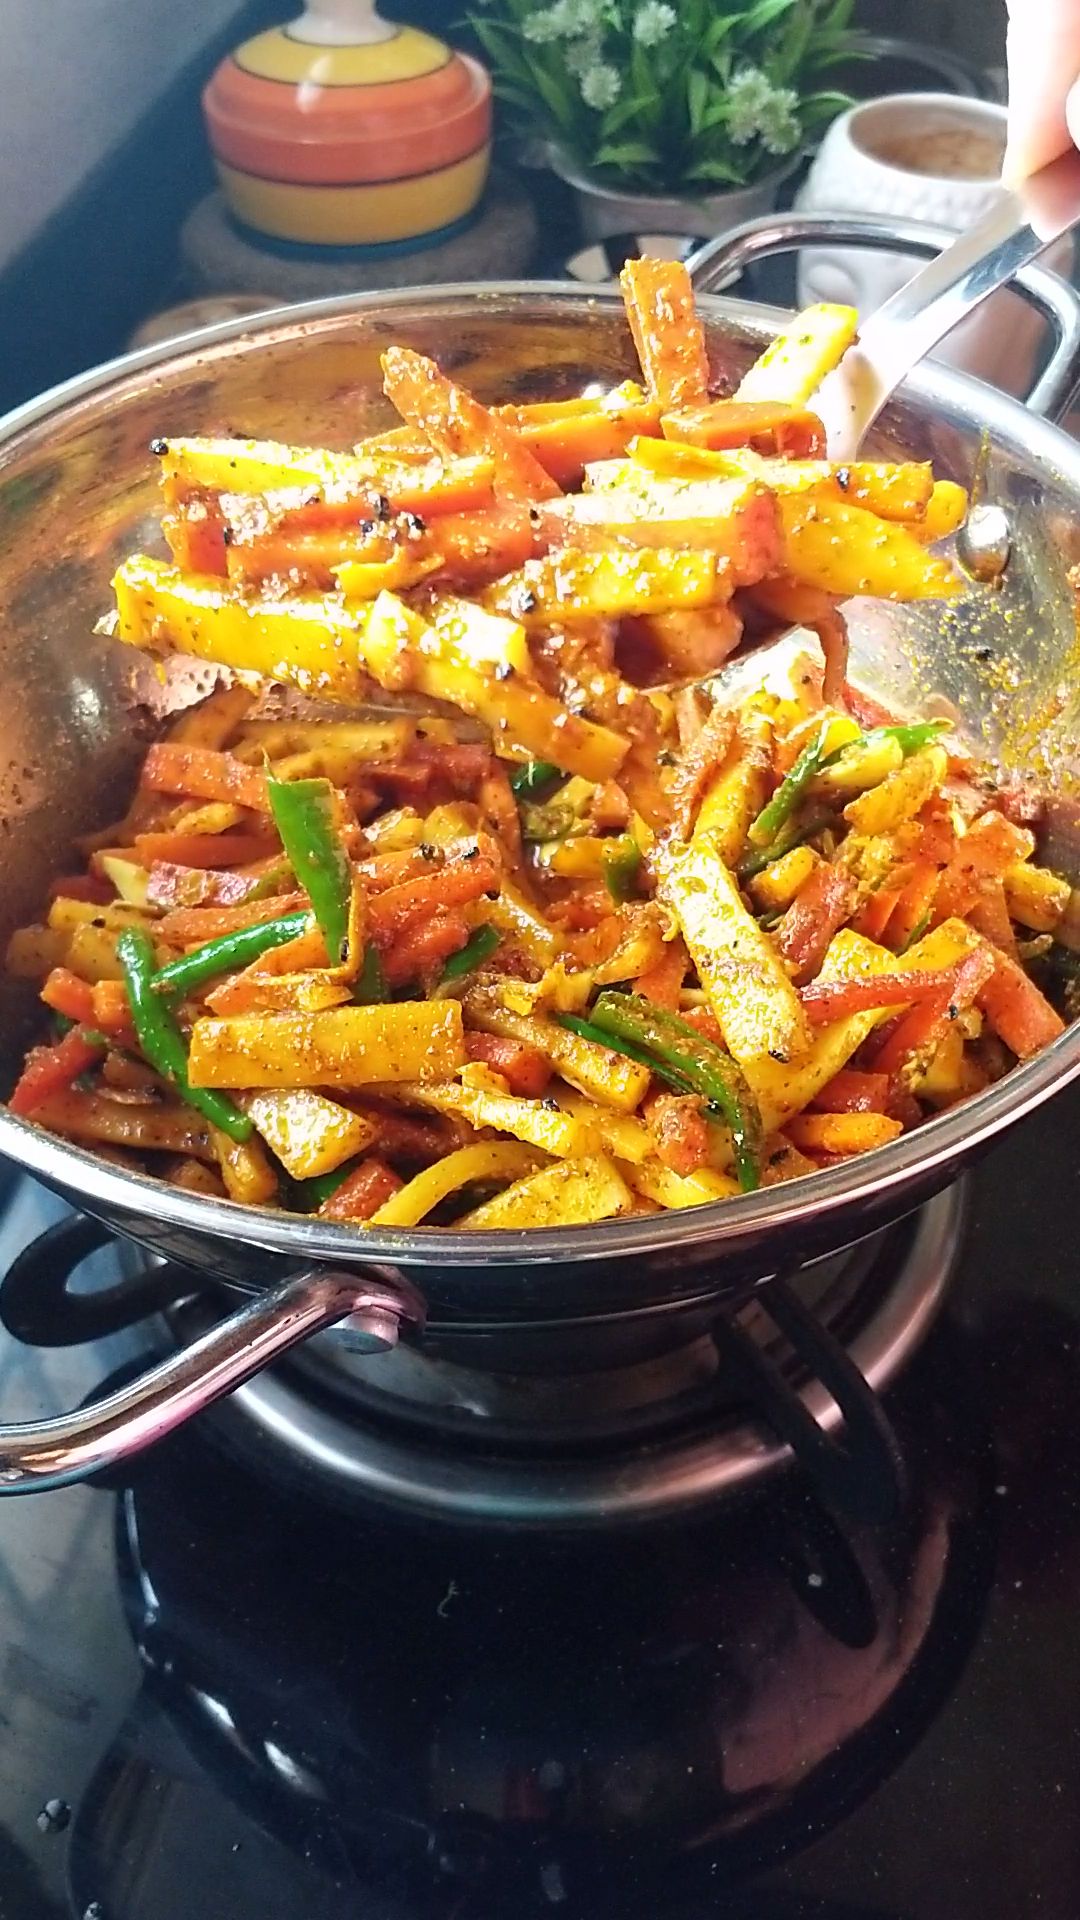
STEP 15 - After mixing well, add 3 tablespoon of freshly made Achar Masala and mix well. Make sure each vegetable piece is quoted in the masala.


STEP 16 - Add salt and cook well for only 2-3 minutes.


STEP 17 - After 2-3 minutes, add white vinegar, mix well and cook for another 30 seconds.


STEP 18 - Turns off the flame and let the achar cool down completely.

STEP 19 - Now your instant Gajar Mooli Hari Mirch Ka Achar is completely ready and you can enjoy it.

STEP 20 - Fill and keep this Gajar Mooli Ka Achar (mixed pickle) in a glass jar with the lid on. The pickle is ready to be eaten right away. But the real taste of pickle will come after 2-3 days. When all the spices will be absorbed into the veggies.


Serve with paratha,roti or as a side dish with your meal.


NOTES - * You can chop carrot and radish as per your desired shape( discs/ battons).

* In the entire process make sure to use a glass bowl or jar. Steel utensils can make the achaar rancid.

* Store in glass or ceramic jar, also make sure the jar is completely dry with no moisture.

* Either Mustard oil should cover the pickle completely OR keep shaking or mixing the pickle regularly.

* Make sure each vegetable piece is quoted in the masala.

* There should be no moisture at all otherwise the pickle will spoil. 

* Always use a dry and clean spoon while serving the pickle.


Watch the video for step by step recipe 👇👇
https://youtube.com/shorts/ba6UaWzwbWQ?feature=share


Saturday, 1 October 2022

THIN POHA CHIVDA / NAMKEEN

Do you want to know how to make amazing Market Style Roasted Poha Chivda / Namkeen at your home ?? If yes, then you might read this post. Now since it is festival season, I had lot to prepare, so thought of making this quick version of chivda. Poha chivda is a classic dish that is relatively easy to make at home. Here I am sharing with you a Maharashtrian Style Chivda recipe that is vegan and addictively delicious. It’s my personal favorite combination of ingredients for a wonderfully crispy, crunchy, sweet and salty mix of goodness. This simple Chivda makes a great teatime snack. Poha chivda is most commonly prepared as a festive snack in Maharashtra in Western India. This Chivda is frequently made as part of the Diwali sweets and savories known as "FARAL" in addition to being a regular snack. There are different variety of poha chivda but this one is more healthy version. Many people enjoy frying it and using it in their recipes. Some prefer to just roast it in the oven or in a pan on stovetop to make it healthy and eliminate all the oil. The outcome is really the same as you do with the traditional method plus you require less oil so it is healthier too.


The type of poha used for fried and roasted chivda is another significant distinction. The thicker type of poha should be used for frying, while the thin variety should be used for roasting. This chivda is always made with the intent of storing it for a minimum of 2-3 weeks and hence, we add ingredients that will not go bad at room temperature for that duration. This poha chivda is also gluten-free and vegan. As this chivda has a lot of good ingredients (peanuts, sesame seeds, roasted gram dal), and is relatively light, it is also often called diet poha chivda. This chivda is made with only 2 tablespoon oil and hence it's a healthier option for the people who wants a low calorie afternoon snack with tea. Not only that but it takes hardly 15-20 minutes and stays good for upto 2-3 weeks.

 It's perfect for a teatime snack which is sweet, tangy, and crunchy with a bit of spicy kick and it's really simple to make at home and so flavorful. There are also variations in the ingredients added for tempering. The main basic ingredients added are peanuts, roasted chana dal (dalia), curry leaves and green chili, dry coconut slices, raisins, along with mustard seeds and turmeric. However I like to add some halved cashews and almonds to this chivda too. I also added sesame seeds. You can also add pumpkin seeds. It adds so much nutrition and flavor. You'll need "thin" poha for this roasted Chivda, which can be found at any Indian grocery shop. You can also use nylon poha. This Chivda will not work well with the thick version, which is used for a KANDA POHA. The thicker type of poha should be used for frying, while the thin variety should be used for roasting. Heat a heavy bottom pan or kadhai on  low flame and add the thin poha and roast it while stirring gently (preferably use a silicone spatula). Use can also shake the pan so that the poha does not break. Roast for 6-8 minutes until the poha becomes crisp. Remove roasted poha in a large bowl and set aside to cool. ( see notes ) [ Option: You can also roast the poha in the oven. Spread the poha in a large baking sheet. Roast at 325F for 10-12 minutes. Stir half way through. The poha should become crisp, but should not change the color] .


There are so many unique ways to prepare these snacks for any and all celebrations, and they are known by several other names like farsan and namkeen. But typically chivda recipes include a crisp base of dry rice flakes (poha) or puffed rice or lentils or sev or potato strands/sticks or makhana (foxnuts) that’s cooked and combined with a variety of nuts, dried fruits, and fragrant spices. You will need turmeric powder, red chilli powder, black salt, salt, and mustard seeds. These spices give the chivda wonderful fragrance and warmth. This is a mildly spiced sweet and savory chivda recipe. You can alter the spices as per your liking. Follow the below given recipe and don't forget to read the notes before making this chivda. It is healthier than store-bought. It is easy to make. It makes the perfect tea time snack.

INGREDIENTS:

3 Cup Thin Poha 

2 tablespoon Oil 

1/2 Cup Peanut 

1/2 Cup sliced Coconut 

1/2 Cup Roasted Bengal Gram/ Chana Dal (डाळ्या )

2 tablespoon Cashew nuts, cut into halves ( काजु)

2 tablespoon Almonds, halved ( बदाम )

1 tablespoon Pumpkin / Melon Seeds 

20-25 Raisins ( optional )

1 tablespoon Sesame Seeds 

1 teaspoon Mustard Seed/Sarso ( मोहरी )

4-5 chopped Green Chilies

1/2 Cup Curry Leaves 

Salt as per Taste 

1/2 teaspoon Black Salt 

1/2 teaspoon Turmeric Powder 

1 teaspoon Red Chilli Powder 

1 teaspoon Kashmiri Red Chili Powder 

1 teaspoon Dry Mango Powder / Amchur Powder 

2 tablespoon Powder Sugar 

METHOD :

STEP 1 - To make the roasted Poha Chivda, heat a kadai on flame, add 3 cups of poha and dry roast well while stirring gently on low flame. ( preferably use silicon spatula)


STEP 2 - When it turns crispy, turn off the flame and transfer it to a big bowl/parat.


STEP 3 - Next, heat the same kadai on medium flame, add 1 tbsp of oil.


STEP 4 - When the oil is hot, add mustard seeds and let them crackle.


STEP 5 - Add the peanuts and roast them while stirring continuously. Once the peanuts start to pop, reduce flame to low. This takes about 1-2 minutes.


STEP 5 - Then add sliced coconut, roasted bengal gram/ chana dal, dry fruits and roast them on low flame.


STEP 6 - After everything turns crispy, add raisins and sesame seeds, mix well and roast a little.


STEP 7 - Pour this mixture to poha and keep aside.


STEP 8 - Next, in the same kadai, heat 1 teaspoon oil and chopped green chilli and curry leaves and roast well until crispy.


You want the curry leaves and the green chilis to not have any moisture, as otherwise they can make the poha soggy.

STEP 9 -  Transfer in the parat with poha and roasted peanuts-coconut mixture.


STEP 10 - Again heat 1 teaspoon oil and add the powder spices and mix well. Roast for 30 seconds and pour to poha mixture.


STEP 11 - Add powder sugar and mix everything very well with two spoons.


STEP 12 - Namkeen thin poha chivda is ready.


Cool it to room temperature and once cooled, serve right away as a snack or store in an airtight container to enjoy later. (Chivda should be thoroughly cooled before being stored in an airtight container). This poha chivda stays good for up to 2-3 weeks. 

 Serve this poha chivda with a cup of garam chai and enjoy. 


NOTES : *Make sure only use thin poha for this recipe.

*Roast poha over low heat in a heavy, thick-bottomed pan or kadhai with handles. Or roast it in the oven. Roasting on a high flame can cause the poha to burn or brown, which will cause it to break.

* It takes approximately 4-5 minutes to roast the poha depending upon the size of the kadai and the quantity of poha.

* You can check whether poha are roasted or not by taking a few and crush them with your fingers. If they can be crushed easily they are done, or else roast them for few more minutes.

*Make sure not to overdo the stirring or mixing as this will break the poha.

* You'll need peanuts, almonds, cashews. green een chilies, curry leaves , sesame seeds, pumpkin or melon seeds, dried coconut slices, & roasted chana dal: They give the chivda all the wonderful flavors and crunchiness.

*Sugar & raisins help to balance the flavors in this namkeen savory chivda.

* For spices - you will need turmeric powder, red chilli powder, black salt, salt, and mustard seeds. These spices give the chivda wonderful fragrance and warmth.

*Check the taste of chiwva mixture and then add more salt or sugar or red chili powder if required.


Wednesday, 14 September 2022

EGGLESS CHOCOLATE WALNUT CAKE

 Baking is an amazing therapy. Nothing is better than moist chocolate cake. It helps you de-stress. This nutty cake is the best bet for parties where you have a mixed bunch of guests - vegetarians and those with special needs. I love the combination of chocolate and walnut and added a teaspoon of instant coffee to the batter to pep up the flavor and the resulting cake's a winner.The recipe is quite easy to put together. It uses oil in place of butter (no waiting for butter to soften) and chopped walnuts and chocolate chips (my addition) as a natural  topping. Fudgy and chocolatey with the crunch of walnuts, this one's truly a chocoholics treat for her. I randomly tried this cake and it turned out very delicious. Since my family loves chocolate in any form especially dark chocolate, it was an instant hit in my house. So , to this cake, if you have guests coming over for a house party or a birthday party which needs a ‘different’ kind of a cake or expect guests with special needs you can bake this cake as it makes no use of eggs and the best of all is it does not need butter. I baked this cake for my daughter who is going to travel for her interview and needs something chocolaty with lots of nuts and but homemade. It works like a stress buster for her. I once thought to buy some from supermarket but they are either too creamy  or totally dry. So skipped that plan.


When I searched for the perfect recipe, I’ve been drooling over images on the social media,  just waiting for the perfect recipe to pop up. And when I mean perfect recipe I usually mean quick and easy. You see I love to cook but I like the recipes to be simple too.

This is the most delicious chocolate walnut cake – snack cake sized! It’s covered with the crumble prepared with dreamiest dark chocolate chips and chopped walnuts. It only takes very less time to prepare this cake, plus no mixer required for the cake!

When you need a tasty chocolate cake in a hurry you can’t go past this moist Chocolate Walnut Cake. Topped with walnuts this cake doesn’t even need icing! The addition of walnuts in this cake gives a different flavor to the cake. The taste is similar to chocolate walnut brownies but as this is a cake, the texture is soft and moist. This cake is a perfect tea time cake (because it is delicately sweet) and also a dessert (try serving it warm with some vanilla ice cream!), the toasted walnuts and the sugar ( I used honey) give that extra crunch! For this cake, firstly chop the required amount of walnuts. I want the cake to be a bit chunky, so used roughly chopped walnuts. But you can use finely chopped walnuts if you want. I definitely believe that this cake would become one of your favorite eggless cakes. The cake is moist, fluffy and soft and fully satisfied my daughter's cravings for chocolates and nuts. The combination of chocolate and walnuts is amazing. This easy chocolate walnut cake recipe would surely become your one of the favorite eggless cake recipes. So if you love chocolate cakes but want to bake something different from the simple chocolate cake, then this recipe is a good option for you.


Make your own using this below recipe. You will not be disappointed. Tried my recipe? Do leave a comment on this post down below and don’t forget to give it a star rating! It will really help more readers discover my recipes! Do share a picture on Instagram and tag me @kalpanaslacucina and I will feature your post in my stories! Don’t forget to check out my latest videos on my YouTube channel. If you like what you see, do give me a thumbs-up (like), share and comment and subscribe to my YouTube Channel.

INGREDIENTS : 

1 Cup /120 gms All Purpose Flour

1/2 Cup/ 30 gms Cocoa Powder 

1 teaspoon Instant Coffee Powder 

1 Cup / 225 gms thick Curd 

3/4 Cup / 85 gms Brown Sugar or white Caster Sugar

1/2 teaspoon Baking Soda

1-1/4 teaspoons Baking Powder

1/2 Cup / 120ml any odourless Oil

1 teaspoon Vanilla extract

For the Topping /Crumble - 

1/2 Cup chopped Walnut 

1-1/2 tablespoons Brown Sugar / White Sugar / Honey 

1 teaspoon Vanilla extract

2 tablespoon Chocolate Chips 

METHOD :

STEP 1 - Preheat oven to 200 degree C. Grease a 7" or 8" round/ square tin with oil or butter. Line it with baking paper or  parchment paper.


STEP 2 - Now prepare the crumble by mixing the chopped walnuts, sugar/ honey, chocolate chips  and vanilla extract together in a bowl. Keep aside


STEP 3 - In a big mixing bowl sift all purpose flour, coffee powder and cocoa powder 2-3 times. Keep aside.


STEP 4 - Take another mixing bowl and add curd and sugar. Beat the curd and  sugar until sugar dissolves completely.


STEP 5 -  Add the baking powder & baking soda and whisk it lightly.


STEP 6 - Add vanilla essence/ extract and mix it.

STEP 7 -  Allow to stand for 2-3 minutes and you will notice that the mixture has turned a little frothy and bubbles starts to appear on the top.


STEP 8 - Add the oil and mix well.


STEP 9 - Add this wet mixture in the flour mixture in 3-4 parts mixing until all the flour is well incorporated. 


STEP 10 - Whisk it well until you get a smooth and flowing consistency batter. 


STEP 11 - Pour the mixture into the prepared tin. 


STEP 12 - Cover the surface evenly with the walnut crumble.


STEP 13 - Tap the cake tin once or twice on your kitchen counter.


STEP 14 - Bake at 200°C for 10 minutes and then reduce the temperature to 175 °C and continue to bake for 30-35 minutes or till the skewer inserted in the centre comes out clean.


STEP 15 - When done, remove and allow to cool for 5-10 minutes before turning over a wire rack to cool further. 


STEP 16 - Then turn on to a wire rack, remove the parchment paper carefully and cool it.


STEP 17 - Now cut into pieces and ready to serve


Serve it on its own or pair it up with some vanilla ice-cream or even some chilled coffee.


NOTES : * I highly recommend using a weighing scale and measuring out your ingredients the metric way. It makes a huge difference to your baking and is the most accurate way to bake!

* Make sure that all of your ingredients are at room temperature before you start the recipe, so pull out all of the ingredients before you start baking.

* Make sure your walnuts are finely chopped.  I placed them in a large ziplock bag and crush them with a rolling pin. If the walnuts are too large, they might sink in the chocolate walnut cake.

* I baked it in square tin but you can bake it in a 7"/8" inch round pan and bake for the same amount of time.

* Cool the cake completely before cutting.


* Keep it wrapped in the fridge for up to 5 days. When ready to eat, let it sit at room temperature or microwave for few seconds.

* Even after refrigerating, the cake remains soft.