_________________I am Mrs. Kalpana Mhaske, a Home-Maker, from the city of 52-Gates, one of the famous heritage- destination of the world- Ajanta - Ellora Caves, Bibi-Ka- Maqbara (The Taj of Deccan) and Deogiri Fort. i.e. AURANGABAD. I admire cooking - tryout and innovate different cuisines. Basically, both of my gorgeous daughters are foodie, they have always encouraged me in the kitchen and forced to carve a Food Blog, that’s why, I am happy to share the makings with you. I am an artist too. Painting – especially, Canvas-Painting is my one more hobby. In total - Ours is an ART-FAMILY, my husband is an Architect. In the end, I keep the same belief with Louise Fresco - “ Food, in the end, in our own tradition, is something holy. It's not about nutrients and calories. It's about sharing. It’s about honesty. it’s about identity ”

Tuesday, 14 May 2019

PATAL POHYACHA CHIVDA/ INSTANT THIN POHA CHIVDA

Poha Chivda is tasty for sure and can also easily prepared at home. It is popularly consumed as an evening snack with acup of tea, but can also be served as a combo with upma. It is ideal when you are watching weight. It is full of flavour yet it goes low on calories. You can make poha chivda before you leave a long train journey or give it to your kids when they are a little hungry or you can as well pack this for kids when they leave for their hostels.  It has a great mix of proteins, fibre and carbohydrates.  Poha chivda recipe is a must have during Diwali and its actually my favourite snack to have all year around. It is very easy to make and light to eat and absolutely delicious. There are two versions of chivda, of which I have shared one before on my blog and which is prepared with thick poha and murmura/ churmura. For this recipe we are using thin poha and not the one which is used to make Kanda Poha. This chivda is also called Mahrashtrian chivda. Traditionally, fired peanuts, coconut and chana/ daliya is added to chivda with the tadka. But if you want to make it a diet chivda then you can add a teaspoon oil to peanuts, daliya and coconut and microwave them for 1-2 minutes and save the calories. It is simple yet easy to prepare and easily last longs for a couple of weeks.

INGREDIENTS:
½ kg thin Poha / flattened rice
¾ Cup Peanuts
10-12 Raisins [optional]
10-12 Cashew nuts[ halved]
10-12 Green Chillies
10-12 sprigs Curry Leaves
¼ Cup Dry Coconut, sliced thinly
½ Cup Roasted Chana Dal
8-10 Garlic Pods
½ teaspoon Asafoetida
1 teaspoon Turmeric Powder
1 teaspoon Mustard Seeds
1 teaspoon Cumin Seeds
½ Cup Oil
1 tablespoon Powder Sugar
Salt as needed
METHOD:
STEP 1 – Spread poha on a big plate and sun dry in direct sunlight for 4-5 hours. Put in a strainer and remove dirt if any.

STEP 2 – Heat a heavy bottom kadai and dry roast poha on medium flame for 4-5 minutes in small batches. Or you can microwave for 1 minute on high temperature.

STEP 3 – Heat oil in kadai,
add peanuts and roast to golden colour. Remove and keep aside.
STEP 4 – In the same pan, roast coconut slices, roasted chana, cashew nuts separately and keep aside with roasted peanuts.

STEP 5 – Now add mustard seeds, cumin seeds in hot oil and let them splutter.

STEP 6 – Then add roughly crushed garlic, chopped green chillies and curry leaves.

 Roast them until crispy.

STEP 7 – Add turmeric powder, salt, sugar powder and mix well.

STEP 8 – Add roasted poha and mix gently.
Cook for another 4-5 minutes with continuous stirring.

STEP 9 – Add peanuts, coconut and all roasted ingredients and mix very well.

STEP 10 – Your chivda is ready to serve. Let it come to room temperature
and store in a clean,  air tight container. You can store it for a month. 

NOTES: *Roast the nuts on low flame, else they may burn and taste bitter.
              *Roast poha on very low flame for 4-5 minutes always in small batches.
              *You can add dry fruits like almonds, raisins to make it more nutritious.
              *You can add dry red chillies for the spiciness.

              *Store the chivda in an air tight container, else the moisture may turn the poha soggy. 

MANGO PIYUSH

Piyush is a very authentic and natural drink without any preservatives in it. Piyush is a great option when you want something interesting to eat at home. It is like a cold drink recipe and very ideal for summers. I already shared simple PIYUSH recipe earlier on my blog where I used kesar pista shrikhand. As mango are in season, today I am sharing a recipe of Mango flavoured PIYUSH for which I used Amrakhand, thick curd and full fat milk. The addition of nuts and saffron makes it very rich. Piyush is a lot like lassi, only that it’s thicker, sweeter and richer than lassi. The flavours of green cardamom and nutmeg give Piyush an irresistible fragrance. No wonder the meaning of ‘Piyush’ is ‘Amrit’ or ‘the nectar of immortality’. Piyush cools down digestive system and gives you the much needed respite from spicy food. Piyush is popular in Mumbai and Gujarat. Piyush is delicious as well as healthy dish because it contains large amount of healthy nutrients. So surprise your feinds and family by preparing this rich, creamy restaurant style Piyush at your home and enjoy.  

 INGREDIENTS:

1 Cup  Amrakhand/ Mango Shrikhand
1 ½ Cup Thick Curd
¾ Cup Full Fat Milk
2-3 tablespoon Sugar
A pinch Cardamom Powder
A pinch of Nutmeg Powder
1 tablespoon Pistachio, sliced
1 tablespoon Almonds, sliced
Few Strands Saffron
METHOD:
STEP 1 - Take curd in a blender jar, add mango shrikhand, sugar
and add milk to it. 
Blend all until smooth and sugar gets dissolved.

STEP 2 – Transfer in a serving bowl, add nutmeg powder, cardamom powder and soaked saffron and mix well.

STEP 3 – Chill it in refrigerator for 3-4 hours, garnish with pistachio slices and serve chilled.

Serve chilled Mango Piyush to your family and friends on a hot summer to beat the heat.

WATERMELON LEMONADE

Sparkling Watermelon Lemonade - this bubbly watermelon lemonade recipe is all you need this summer. So refreshing and so easy to make! If you were to think what screams refreshing on a summer day, I imagine a nice cold glass of lemonade or a slice are high on the list. But why not go one step better with this deliciously refreshing watermelon lemonade??  I am not sure how many watermelons we have already gone through this summer, but I do know it’s a lot…!!! My hubby likes it and so do I and buy one weekly. It’s the most refreshing summer fruit which is so juicy and sweet. This recipe needs very few ingredients and is so tasty. As watermelon is naturally sweet no need to add sugar while the preparation. Here is to watermelon season and the deliciousness of summer fruit. Watermelon has such a wonderful freshness, as well as a great colour that it is perfect for making a bright, light lemonade. Like me, I know if you try this it is going to be regular on your table over the summer.


INGREDIENTS:
1/2 large Watermelon, de-seeded
4 tablespoon Lemon Squash
3 Lemon
30 Fresh Mint Leaves
Drinking Soda / Sprite
Crushed Ice
METHOD:
1. Make small pieces of de-seeded watermelon.

2. Add them in a mixer pot with lemon squash, extra lemon juice, mint leaves and blend it to make fine juice.

3. Reserve some watermelon pieces for further use.
4. Take serving glasses , add crushed ice
and pour watermelon juice with some watermelon pieces.

5. Add some mint leaves for extra flavour.
6. Add drinking soda / sprite in glasses.
Garnish with a lemon wedge and serve chilled...

SHIKANJI MASALA POWDER

Shikanji is very popular North Indian traditional drink for summer. Shikanji is a refreshing lemon based drink and it is specially consumed during summer and is very common in North Punjab, Delhi and Uttar Pradesh. You will find many roadside masala drink stalls during summer.  Here, the main ingredients used to prepare this masala are best for beating the scorching heat of sun during summer season. Shikanji masala powder is very easy to make at home with very few ingredients that are available at your pantry. With this masala powder you can easily make healthy and refreshing drink.

INGREDIENTS :
1 tablespoon Cumin seeds 
1 tablespoon Cumin seeds (roasted for 20_30 seconds)
1/4 teaspoon Salt
1/2 teaspoons Black Salt 
10-12 Black Pepper 
1 Green Cardamom 
3/4 Cup Sugar


METHOD:
1. Heat tawa, roast cumin seeds, don't over roast. Cool it.
2. In mixer jar, add all ingredients in it. 
3. Blend to make fine powder.


4. Shikanji Masala powder is ready. Store it in an air tight container for further use.

Thursday, 2 May 2019

ROSE FALOODA

Falooda doesn’t need any introduction to many. Falooda is a cold dessert with origins in the India subcontinent. Falooda is popular in India, Pakistan, Singapore, Malaysia and some parts of Middle East. Traditionally it is made from mixing rose syrup, vermicelli, sweet basil seeds [sabza] with milk and often served with ice cream. The vermicelli used for preparing falooda is made from wheat, arrowroot, corn starch or sago. Here I used my home made regular wheat sevai for this recipe that are used for other Indian desserts. . Falooda is not only drink but can be a meal in itself. Some ingredients like soaked basil / sabza seeds have a cooling effect on the body. Falooda is also often served with various nuts.


      The foundation of falooda goes back to Persia, where a similar dessert, faloodeh, was popular. The dessert came to Medieval India with the many Muslim merchants and dynasties that settled in the Indian subcontinents in the 16 -18 th century. The present form of falooda was developed by Mughal Empire and spread with its many conquests. Muslim rulars who succeded from the Mughals supported the dessert with their own adaptations, specifically in Hyderabad Deccan and the Carnatic areas of present-day India. This dessert is now a major part of Pakistani and Bangladeshi culture, specially served on Islamic holidays and other occasions. It is also a well-known part of Sri Lankan modern culture.
      Falooda is very similar to the Thai drink Nam Maenglak [lemon basil drink], which is made from different ingredients, such as pre-soaked lemon basil seeds, shreeded jelly, tapioca pearls and Coix Lacryma- jobi var. ma-yuen mixed with sugar, water and rose water. A famous type of falooda, called “Andrea” involves mixing various rose syrups with creamy milk and premature tapioca pearls. South Africa also has a variant known by the same name and is often served as a milkshake to be consumed with or after a meal.
   Coming back to falooda dessert, I often make this falooda during the summer with some variations which I will share in few days. Basically, falooda is prepared with falooda sev, but you can use the vermicelli or if you have sago, then add cooked sago instead of vermicelli. Out of India, Falooda sev can be easily found in shops specialising in Indian foods or go for online stores like Amazon and Ebay. Not only your kids but your friends and family will definitely like this version. Basil/ sabza seeds are the best home remedy to reduce your body heat. Served either just as a drink or as an ice cream float, it is extremely pretty to look at and tastes even better…!!! You can serve this dessert with a garnish of pistachios, almonds, cherries and other dry fruits as well to add the crunchy element in it. Try this for special occasions like kitty parties, game nights, anniversaries and family get togethers to relish this vegetarian recipe and it will unquestionably impress everyone with its luscious taste. The best part about this recipe is that it is not only simple to make but delicious in taste and visually also very appealing. So without any delay, try out this easy recipe this weekend as summer is there in India and indulge in its lip-smacking flavors…!!!

INGREDIENTS:
2 Cup Milk
1 Tablespoon Sabza Seeds
1 Cup Water to soak Sabza Seeds
2 tablespoon Sugar
4-5 tablespoon Rose Syrup
1 Cup Rice Noodles/ Falooda Sev/ Wheat Vermicelli
6-8 Ice Cubes
Vanilla Ice cream
METHOD:
STEP 1 – In a small bowl, add 1 cup water and 1 tablespoon sabza seeds and keep aside. Allow the seeds to bloom. They will begin to swell with 10 minutes of soaking. They turn transparent with a jelly like coating over the seed. That means they are ready to use.

STEP 2 – Boil some water in a vessel. Add falooda sev [here I used vermicelli for making falooda], let it cook for 5 minutes until soft.

STEP 3 – Drain it and rinse it with cold water, add some cold water in it and keep it in fridge until used.

STEP 4 – Take a mixer pot, add ice cubes, sugar and milk in it and blend until sugar is completely dissolved. [or you can add sugar in milk, dissolve and keep in fridge to chill]

STEP 5 – Add 3 tablespoon rose syrup and whisk again once or twice for a minute.

STEP 6 –  Place the serving glasses in the freezer and let them chill for 10-15 minutes. Then take the serving glasses, add the remaining rose syrup in each glass.
STEP 7 – Then add some sabza seeds followed by falooda sev.

STEP 8 – Slowly and gently pour the rose milk till ¾ th level of the glass.


STEP 9 – Float a scoop of vanilla ice cream.

STEP 10 – Then add some more sabza seeds, falooda sev and drizzle some more rose syrup on the top. Your falooda is ready to serve. Serve it immediately to enjoy.

In a scorching heat of summers serve it chill and enjoy.
 NOTES: *You can boil the milk with sugar over medium flame and reduce it a little. Add rose syrup , mix well and take it off the flame. Chill it and then use it.


VEG MANCHURIAN

Veg Manchurian Gravy is a very popular Manchurian recipe in Indo Chinese cuisine and is made using Manchurian balls in manchurian gravy. This recipe needs different sauces like soya sauce, chilli sauce to make a gravy consistency. Veg Manchurian can be served as it is or you can enjoy it along with a bowl of fried rice. Most people don’t try these Manchurian at home thinking that its pretty difficult and complicated. I must admit I used to be of them too, until the day I made an effort and tried making it at home. It is very comfortable making restaurant style food at home which gives me full satisfaction. And I bet this Manchurian tastes better than restaurant ones and if you prefer add little MSG but it is totally optional. Here I skipped adding MSG, Ajino Motto and colour which also fine either way. Traditional vegetable Manchurian is always fried, which of course adds to the yummilicious taste but you can skip frying instead for a healthy option you can make the Manchurian balls using Appe Pan which also turns good.  Adding lots of garlic is important in this recipe as it’s bring wonderful flavour not only fried rice but also with plain rice.  So try this recipe and if you like share me your views and suggestions below in the comment box.  
  
INGREDIENTS:
For Manchurian Balls:
1 Cup Cabbage, grated
1 Cup Carrot, grated
1 Onion, finely chopped
1 Capsicum, finely chopped
½ Cup French Beans, finely chopped [optional]
¼ teaspoon Black Pepper Powder
1 teaspoon Ginger-Garlic Paste
1 teaspoon Butter [optional]
¼ Cup Corn Flour
 ½ Cup Refined Flour
1 teaspoon Soya Sauce
Salt as needed
For Making the Sauce/ Gravy:
1 tablespoon Oil
2-3 tablespoon Spring Onion Bulbs
1 teaspoon Ginger, chopped very fine
1 teaspoon Garlic, chopped very fine
2-3 tablespoon Spring Onion Greens
2 Green Chillies, chopped finely
½ Capsicum, finely chopped
2 tablespoon Soya Sauce
1 tablespoon Red Chilli Sauce
1 tablespoon Tomato Ketchup
100 ml Water
 Salt as needed
1 teaspoon Sugar
¼ teaspoon Black Pepper Powder
2 tablespoon Corn Flour slurry [ corn flour mixed with sufficient water]
1 Sprig of Spring Onion, chopped for garnishing
METHOD:
For Making Manchurian Balls:
STEP 1 –  In a bowl, add all the veggies required for making Manchurian Balls and mix them very well.

STEP 2 – Then add butter and again mix well.

STEP 3 - Add both the flours, salt and other ingredients
and mix well to form a smooth dough.

STEP 4 – Now grease your hands with oil, take little dough mixture and try to make small lemon size balls with it.

STEP 5 – Heat oil in a wide pan on medium heat.

STEP 6 – Make all the balls from the prepared dough.
STEP 7 – Drop 2-3 balls at one time and deep fry them until golden in colour.

STEP 8 – Remove, keep aside for 5 minutes and then re-fry the Manchurian balls once again in the same oil.

STEP 9 – You can see dark golden coloured Manchurian balls here. Drain excess oil from it and keep aside until we make the gravy.
For Making Gravy :
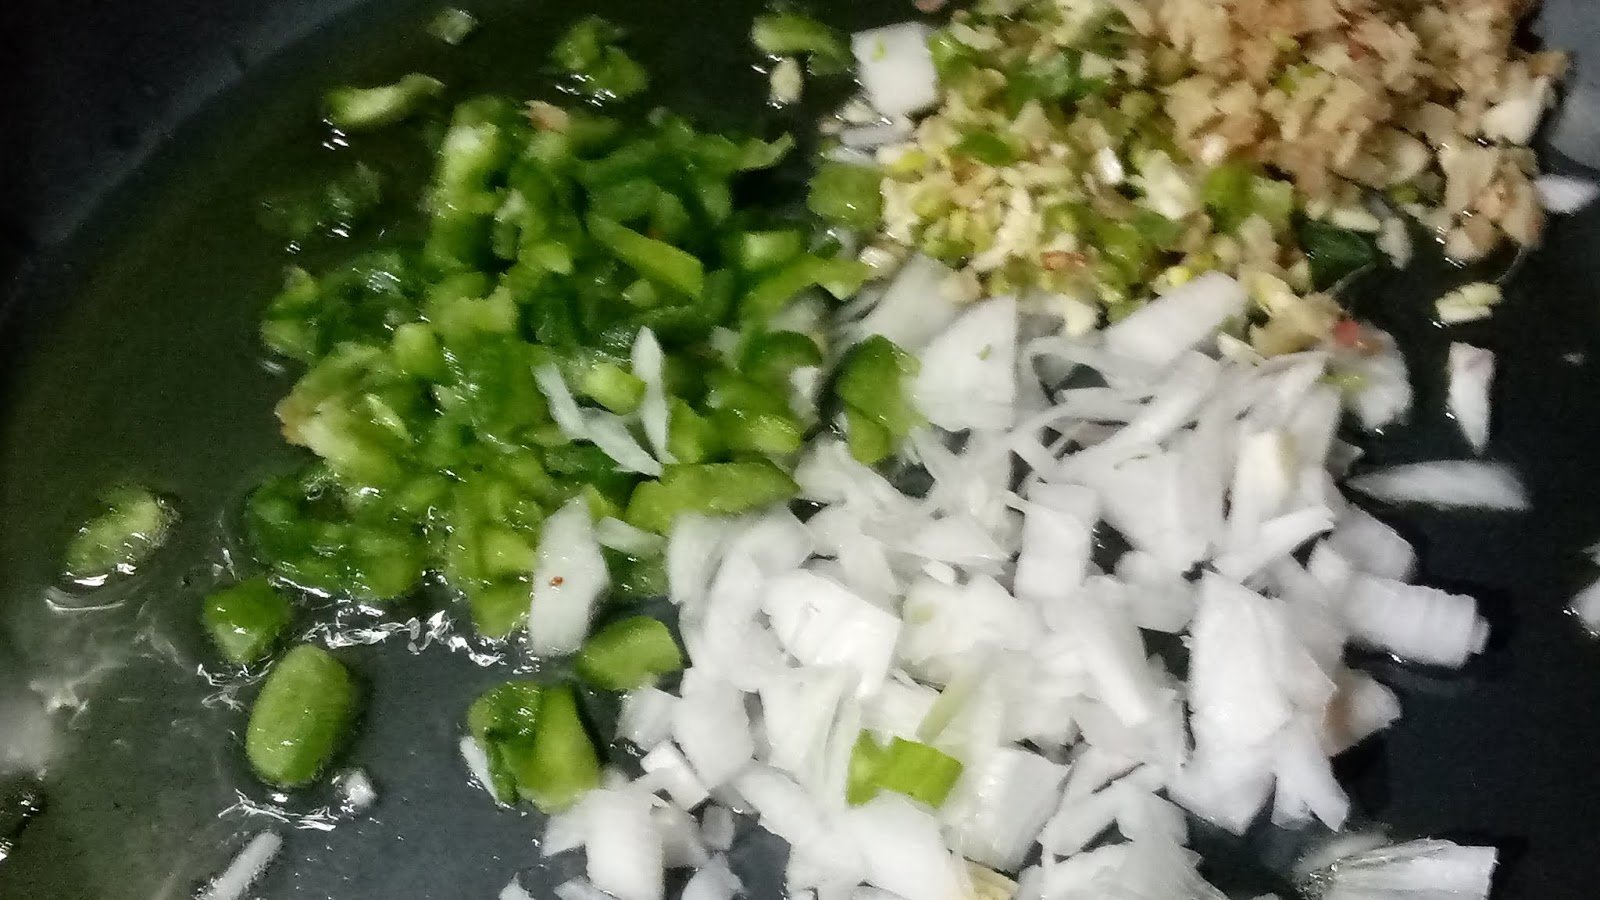
STEP 1 – Heat oil in a wide fry pan. Add chopped onion, spring onion, capsicum, ginger and garlic, mix all the veggies and cook for 1-2 minutes.

 STEP 2 – Add sugar and mix it.

STEP 3 – Add all the three sauces, mix well and season it with salt.

STEP 4 – Then add corn flour slurry
and cook with stirring it continuously to make a semi thick gravy.

STEP 5 – When the gravy becomes little thick,
add fried Manchurian balls in it, stir it very nice and cook for another 2-3 minutes.

STEP 6 – Garnish with some chopped green and whites of spring onion
and serve hot.