_________________I am Mrs. Kalpana Mhaske, a Home-Maker, from the city of 52-Gates, one of the famous heritage- destination of the world- Ajanta - Ellora Caves, Bibi-Ka- Maqbara (The Taj of Deccan) and Deogiri Fort. i.e. AURANGABAD. I admire cooking - tryout and innovate different cuisines. Basically, both of my gorgeous daughters are foodie, they have always encouraged me in the kitchen and forced to carve a Food Blog, that’s why, I am happy to share the makings with you. I am an artist too. Painting – especially, Canvas-Painting is my one more hobby. In total - Ours is an ART-FAMILY, my husband is an Architect. In the end, I keep the same belief with Louise Fresco - “ Food, in the end, in our own tradition, is something holy. It's not about nutrients and calories. It's about sharing. It’s about honesty. it’s about identity ”

Saturday, 7 October 2017

DO_BATATA VADA

We always use to make aloo vada or bonda with besan batter. But here is my recipe which is influenced by Maharashtra’s renowned Chef- Chef Vishnu Manohar ji. Here at my place, there was his restaurant few years back where they used to serve Do-Batata Vada. I was very curious about the dish and very excited to know what actually the dish is. Finally, one day we orederd it and there is the end of my eagerness. It is nothing but our humble batata vada but instead of using besan/ gram flour batter for coating, he used dosa batter to cover the potato mixture. All excitement stopped there and from that day it is my favourite dish as I am a die hard fan of South Indian dosa, idli , vada sambar and can servive on this.  Here there is no hard rules in preparing these vada or bonda, the addition of quantities of ingredients is purely left to suit your taste buds. Even you can try out this recipe when there is leftover dosa batter and you are fade up off making regular idli, dosa. Try this recipe and I bet you will love it, once you start eating them it is difficult to stop. Prepare this as an evening snack with tea or in festival lunch. Just take a precaution that if using leftover dosa batter then use it at room temperature. Try this variation which tastes nice crispy on the outer side and spicy inside.  


INGREDIENTS:
1 Cup Dosa Batter
2 Cups Spicy Batata Vada Sabzji [see notes]
2 teaspoon Oil
Appe pan

METHOD:
STEP 1 – Grease each hole of appe pan with little oil and heat it.
STEP 2 – Make small lemon size balls with batata bhaji.

STEP 3 - Deep batata vada in dosa batter
and then put it gently in each portion/ hole of appe pan.[see notes]
STEP 4 – Cover it and cook it for few minutes or till done from one side.
STEP 5 – Flip it with skewer or spoon and cook from another side.
Cook till golden brown and crispy on outer side.
STEP 6 – When done remove from appe pan and serve hot.
Serve hot do batata vada with mint chutney or tomato ketchup or coconut chutney and enjoy.


NOTES: * Recipe is already shared separately as “SUKKI BATATA BHAJI” in my blog.
              * Dosa batter should be thick and not so runny.

Friday, 6 October 2017

CHOCOLATE MOUSSE MODAK

Deliciously light, fluffy chocolate mousse coated with dark melted chocolate. Perfect combination for my modak. This innovative recipe I tried during Ganapati Festival when everyone is busy to show their talent and making very innovative versions of modak. Mousse is one of those that can be kinda hard to make [as per my experience] but once you get it down it’s so worth it. It is very light, fluffy and airy that you don’t feel like your dessert is weighing you down heavy dense ingredients. Here I tried a modak recipe with this fluffy chocolate mousse and the result was awesome. My daughter was so happy to see the chocolate mousse modak and my hubby too. This recipe is so easy to make and equally very delicious and versatile. Make it for Ganapati Bappa prasad and surprise your guests, friends and family with this interesting  and very modern chocolate mousse modak.


INGREDIENTS:
For Modak Shell:
150 gms Dark Chocolate Compound

For Chocolate Mousse:
½ Cup Whipped Cream
½ Cup Semi-sweet Chocolate Chips/ Chocolate Compound

METHOD:

How to make the shell:
STEP 1 – Melt chocolate for shell in microwave for 30 seconds. Give a nice stir and microwave it for another 30 seconds. Give a whisk to remove any lumps in it.

STEP 2 – Take a chocolate mould shown on the picture.
STEP 3 – Pour a teaspoon of melted chocolate in each compartment of the mould and spread it well and coat it well.

STEP 4 – Keep it in fridge for 5 minutes. Remove and give another coat of melted chocolate.
STEP 5 – Again keep it in fridge for next 5 minutes.

For making Mousse:
STEP 1 – Take chilled heavy whipping cream in a bowl. Whip the cream until stiff peaks with the electric beater. Do not over whip it.
STEP 2 – Now add the melted and cooled chocolate in it. Gently fold it with rubber spatula. Keep this mousse aside.[here i don't have detail step wise pictures ]

How to proceed :
STEP 1 – Take out the chocolate mould from fridge. Fill the mousse in piping bag and fill each shell with chocolate mousse.

STEP 2 – Tap it once or twice on the platform to remove air bubbles and set it.
STEP 3 – Now again keep it in the refrigerator for 10 minutes or until the mousse set.
STEP 4 – Remove the mould from refrigerator and cover the base of the modak with some melted chocolate.

STEP 5 – Follow this and seal the bottom of each modak with melted chocolate. Once done put the mould in fridge for 5-10 minutes.

STEP 6 – After desired time, remove the mould from fridge and unmould the chocolate mousse modak.


Serve it to Ganapati Bappa as prasad and then distribute them among  your guests. Guests will be surprised with this new version of modak.  

Friday, 29 September 2017

CHOCOLATE TRUFFLE CAKE

An edible masterpiece of chocolate. A quick and easy yet exotic dessert of sugar-soaked chocolate sponge sandwiched with coffee mousse and coated all over with a intense chocolate truffle icing. While the intense chocolate flavour is enough to please the diners, you can add to the magic by spending a little time on the decoration and garnishing. Decorated the cake with homemade chocolate swirls, peanut butter truffle balls and some coffee mousse icing. Your guests will be ready to even skip the main course for this appealing and attractive dessert. Eggless chocolate truffle cake with homemade sauce for frosting is a very easy and quick recipe to learn. Even the begginers can manage to make such cakes if you follow the step-by-step recipe. Even I myself not a master when we talk about cakes and not a perfect baker. Do try this delicious and esay chocolate truffle cake and surprise your friends and family members with this beautiful make. Use your creativity and make the decorations as per your liking.

INGREDIENTS:
Truffle Sauce [recipe is shared in blog]
For making Cake:
1 Cup Maida / All Purpose Flour
½ Cup Curd [use fresh curd]
½ Cup Powder Sugar
1 teaspoon Baking powder
1 teaspoon Baking Soda
Coffee Decoction [see notes]
3 tablespoon Oil
¼ teaspoon Vanilla Essence
2 tablespoon unsweetened Cocoa Powder
For Sugar Syrup:
2 tablespoon Sugar + ¼ Cup Hot Water
Chocolate Designs for garnishing
Whipping Cream [see notes]
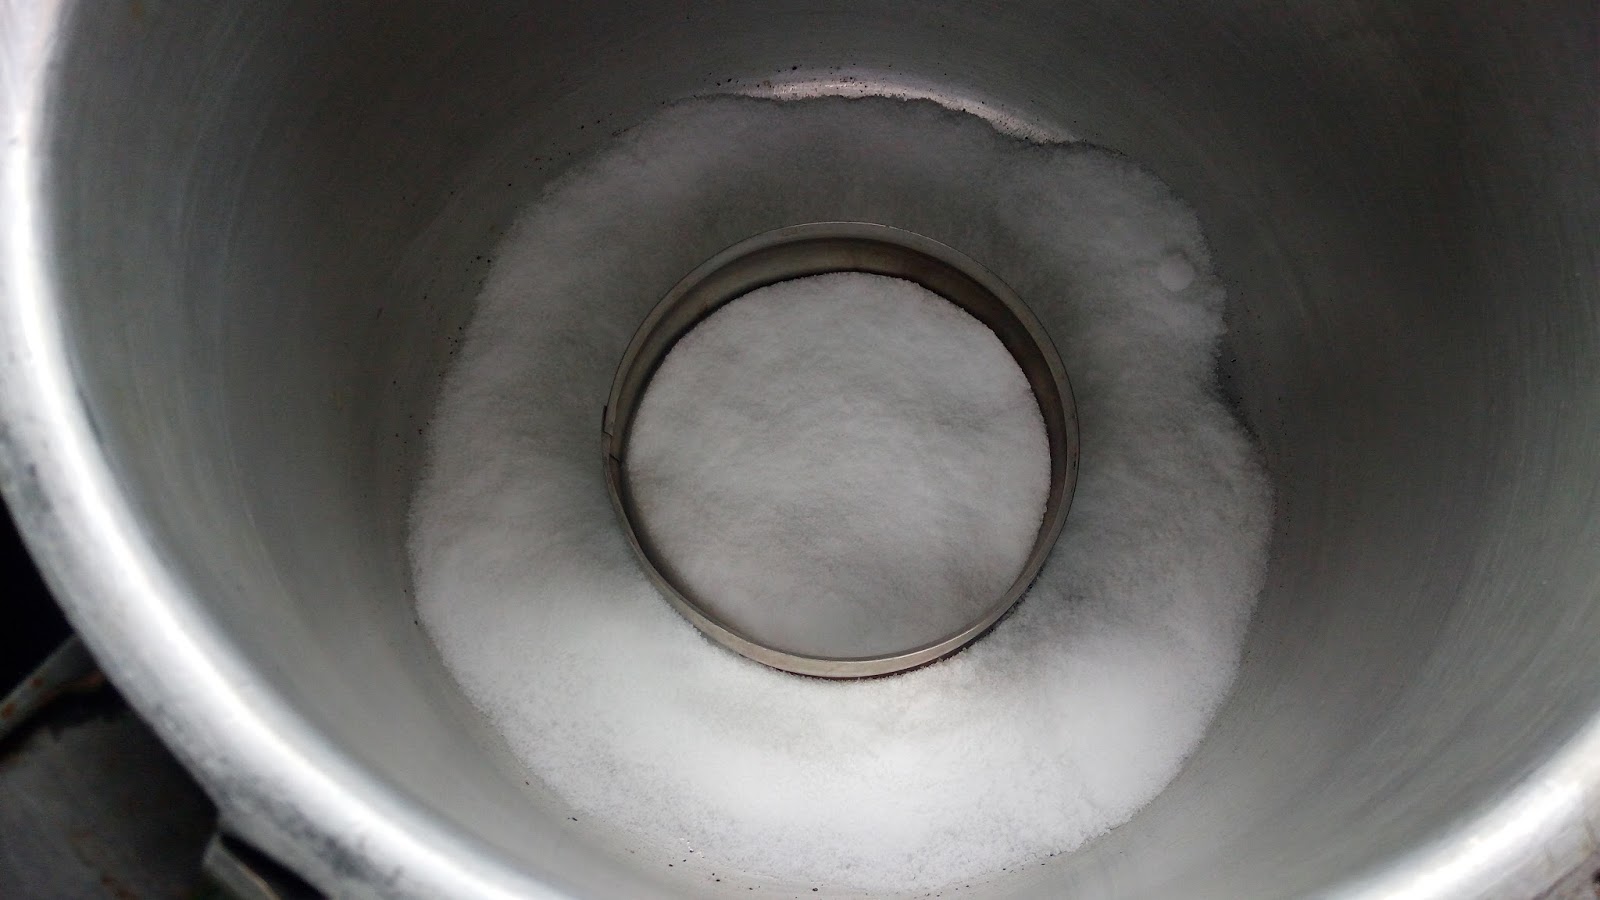
Salt for layering in the pressure cooker


METHOD:
STEP 1 – Pre-heat the pressure cooker.
[see notes] Grease the cake tin with butter and line it with butter paper. [see notes]

STEP 2 – Take a bowl, add curd at room temperature, baking powder, baking soda
and sugar in it.

STEP 3 – Whisk all together using a hand whisk. You can see some bubbles in it, that means baking powder and baking soda starts working.

STEP 4 – Keep it aside for 8-10 minutes without disturbing it.

STEP 5 – Then add oil in the curd mixture with vanilla essence and mix well.

STEP 6 – Now sift in maida and cocoa powder in it. Mix it gently.
Don’t overmix the batter otherwise your cake will become less spongy and less fluffy.

STEP 7 – Add coffee decoction in the batter.
Gently fold the cake batter.

STEP 8 – Pour the cake batter in the cake tin. Tap it 2-3 times on the platform.

STEP 9 – Now remove the lid from pressure cooker and keep the cake tin inside it.

STEP 10 – Close the lid and bake it for 30-40 minutes or till done.
After 35 minutes, just insert the tooth pick in the center and check.
If it comes out clean then your cake is ready. If not then bake it for another 5-7minutes.

STEP 11 – Keep the cake inside the cooker and let it cool for 10 minutes.
STEP 12 – After 10 minutes remove it from cooker and cool it completely.

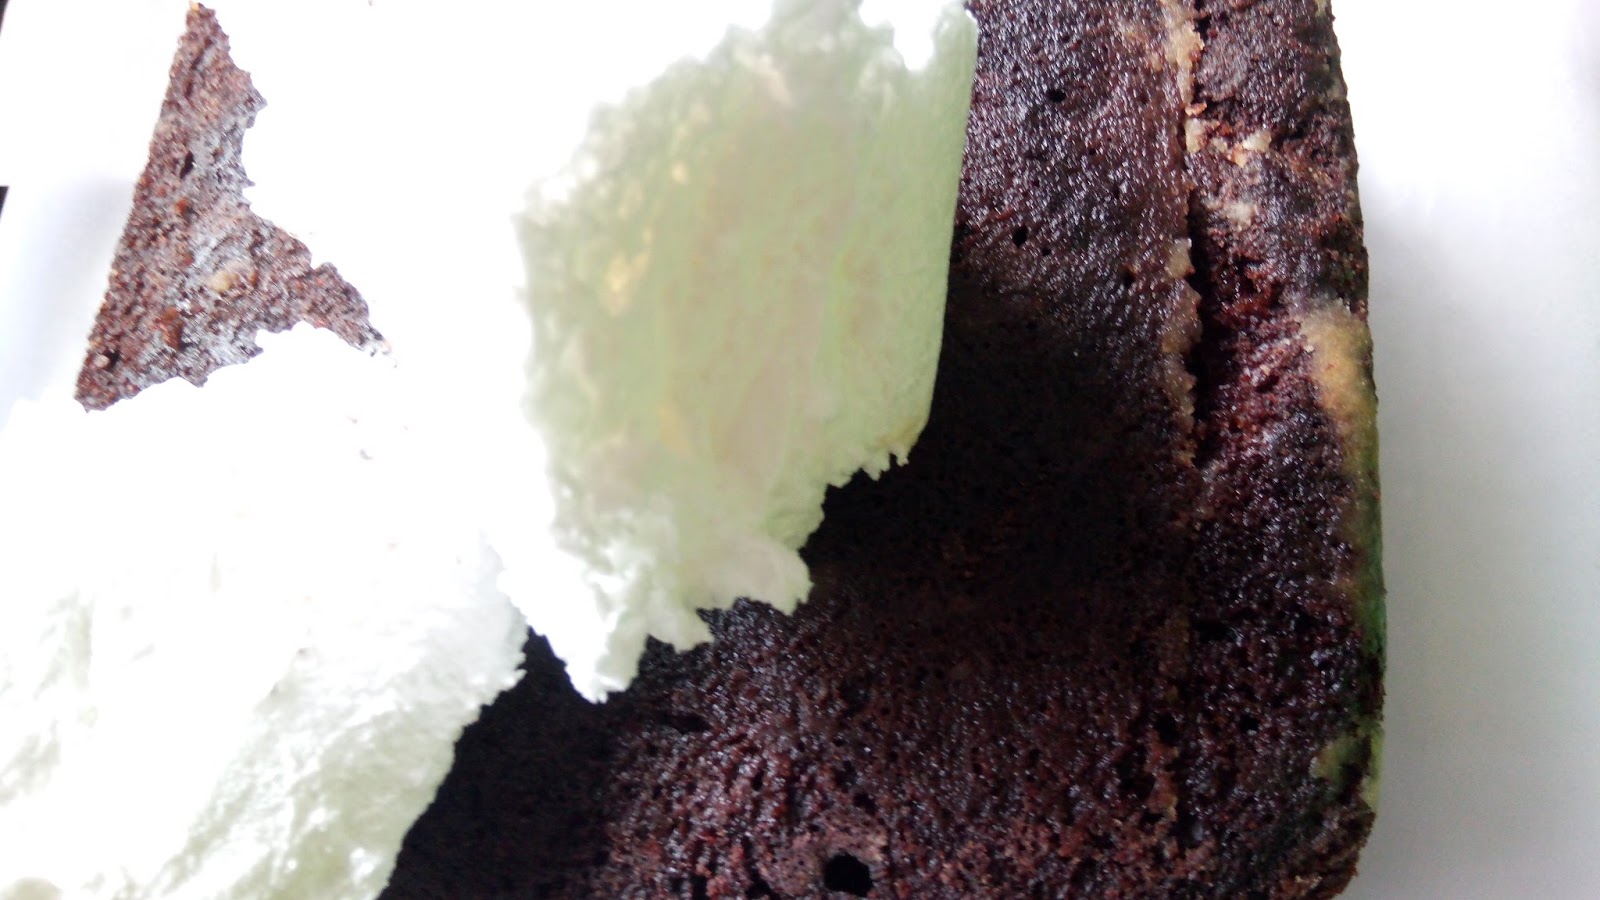
STEP 13 – Now after cooling it, demould the cake, remove the upper uneven crust
and cut it into 2 pieces.

STEP 14 – Keep one piece on the turn table and drizzle some sugar syrup on it. This helps to keep our cake moist.

STEP 15 – Now apply coffee mixed whipping cream on the cake base.
Spread it evenly.

Spread some chocolate vermicelli on it.

STEP 16 – Drizzle some sugar syrup on another half of the cake and arrange this cake half over the first one. Remember keep the sugar syrup side from the inner side.

STEP 17 – Now cover the whole cake with whipping cream and keep it in refrigerator for 2-3 hours.

STEP 18 – Make a truffle sauce. Remove the cake from fridge and transfer it on the wire rack.
STEP 19 – Pour the chocolate truffle sauce over it and cover it from all sides with truffle sauce.
Keep it on the rack for 5-10 minutes so that extra sauce will drain out.

STEP 20 – Transfer the cake again in refrigerator for 1 hour.

STEP 21 – Now remove the cake from refrigerator and garnish it with whipping cream, chocolate curls.
I used peanut butter truffle balls for garnishing which I prepared at home. Recipe is shared in the blog.
Your cake is ready, surprise your family with this beautiful cake.


NOTES : *COFFEE DECOCTION- ½ teaspoon Coffee Powder + 2 tablespoon Hot Water. Mix it and your coffee decoction is ready to use. This enhance the taste of the cake.

           *Grease the tin with oil/ ghee then line it with butter paper and again grease it.
You can line it with butter paper on the sides also which helps to unmould the cake easily.
Then dust a little maida, tap it once on the platform and remove extra maida from the tin. This is another cake tin, and for my recipe I used square cake tin. This is only to show how to grease and make ready your cake tin.

              * For my cake, I used coffee flavoured whipping cream to fill in between 2 layers of cake and for icing. You can use plane cream too.
              * Put some slat at the base of the pressure cooker. Make sure it is ½” layer. Put a steel ring, or stand in the center.
Now keep the pressure cooker on heat. Remove  whistle and gasket from the lid and keep it inverted on the base of pressure cooker. Heat it like this on medium flame for about 5 minutes. This is pre-heating of pressure cooker like we pre-heat the oven before baking cake.